- Garantía de por vida
- Pagos 100% seguros
- Envío gratis en pedidos desde 350 €
- Envío rápido con DHL Express
- Sólo para profesionales
- Sin pedido mínimo
- Moissanita con certificado GRA
- SÓLO PIERCERS VERIFICADOS

How the bend holds the top, and how to check it every time.
By The Tremun Team · Barcelona, Spain · Updated 18 November 2026
Threadless jewellery has no thread. The top holds because a small bend in its pin presses against the inside of the post. Too little bend, and the top works loose. Too much bend, and the top will not seat. Repeated re-bending also tires the pin. This bench manual puts one routine into words: Bend, Insert, Push, Check. It also covers troubleshooting, client scripts and stock. It comes from more than 10 years of experience supplying professional piercers across Europe.
En resumen
Five rules for a secure threadless fit
A threadless top holds by tension. A gentle bend in the pin presses against the inside wall of the post. Bend a little, push the top home, test with a pull and a turn, then adjust. Never kink the pin.
Already approved? See the titanium insertion pin.
No thread. The bend in the pin does all the work.
Threadless jewellery works by tension. The top carries a thin, straight pin. You give that pin a gentle bend, then push it into the hollow post. Inside the post, the bent pin tries to straighten. It presses against the inner wall at a few contact points. That pressure creates friction, and the friction holds the top in place.
More bend means more tension and a tighter fit. Less bend means a looser fit that comes apart more easily. This one relationship explains almost every fit problem at the bench.
The trade uses several names for the same system: threadless, push pin, push-fit and press-fit. In US English, you will also see "threadless jewelry". This guide uses "threadless" throughout.
The post goes in first, and the top is pushed in after. Later, the client changes the look by changing only the top.
Anatomy
Two gauges in one piece: the pin and the post.
A threadless system has three working parts and one tool. Use the same names with your team and your clients.
At Tremun, the post is the Labret 2.0 Push Pin (Solo barra). It is titanium ASTM F-136, 16G or 14G. Lengths are 5, 6, 7 and 8 mm, with a 4 mm base. Tremun tops are sold without post, so you order posts and tops separately.
The pin gauge and the post gauge are two different numbers. The pin is much thinner than the post. Tremun tops list a 25G push pin, about 0.45 mm. The Labret 2.0 Push Pin post comes in 16G (1.2 mm) and 14G (1.6 mm).
So one top can fit both post gauges in the same system. The post gauge matters for the piercing; the pin gauge matters for the fit.
Mixing systems is different. Pin diameter varies between makers, and post bores may vary too. A top from one brand may sit loose or tight in another brand's post. Always test-fit, and check the product page first. Tremun does not promise cross-brand fit.
Mixing brands
Test-fit any top from another maker in your post before the appointment. Check the pin gauge on both product pages. Unsure? Ask us on WhatsApp: +34 675 014 620.
Look at the pin before you touch it.
Check every top under a loupe before you set the tension.
Bend with gloved fingers where you can. If you use a tool, we suggest smooth or protected jaws. A plier mark can weaken a fine pin, so avoid bare metal jaws. Some piercers place a thin layer of paper between the jaws and the jewellery.
APP guidance asks for jewellery surfaces free of nicks, scratches and burrs. We apply the same standard to pins.
You can set the tension before the appointment, away from the client. Follow your studio's protocols and the product instructions for every part.
Start with less bend than you think. You can add more; taking it back costs the pin.
There is no single correct amount of bend for every top and post. It depends on the pin, the post and how often the top changes. So treat the bend as a skill, not a number.
Several makers describe the same basic method. Insert the pin part of the way into the post, often about a third. Tilt the top gently to one side. This forms a soft, even curve along the pin. Then remove the pin and check the shape.
Follow these rules for every bend:
We suggest you match the tension to the client. A top that will rarely change can take a firmer fit. A client who changes tops often needs a fit that comes out with steady finger pressure.
Compare your last bend with the two shapes below.
The bend
A gentle curve compared with a sharp kink and a bend at the baseThree panels show the same top and pin at the same scale. Panel 1, marked Do with a tick: one smooth, gentle curve along the middle of the pin. Panel 2, marked Avoid with a cross: a sharp kink in one point of the pin. Panel 3, marked Avoid with a cross: a bend right at the base, where the pin meets the top.Do: gentle curve
Tension spreads along the curve.
Avoid: sharp kink
Tension sits in one point; the pin tires faster.
Avoid: bend at the base
Bend along the pin, not where it meets the top.
Guide the post, then push the top. Never force it.
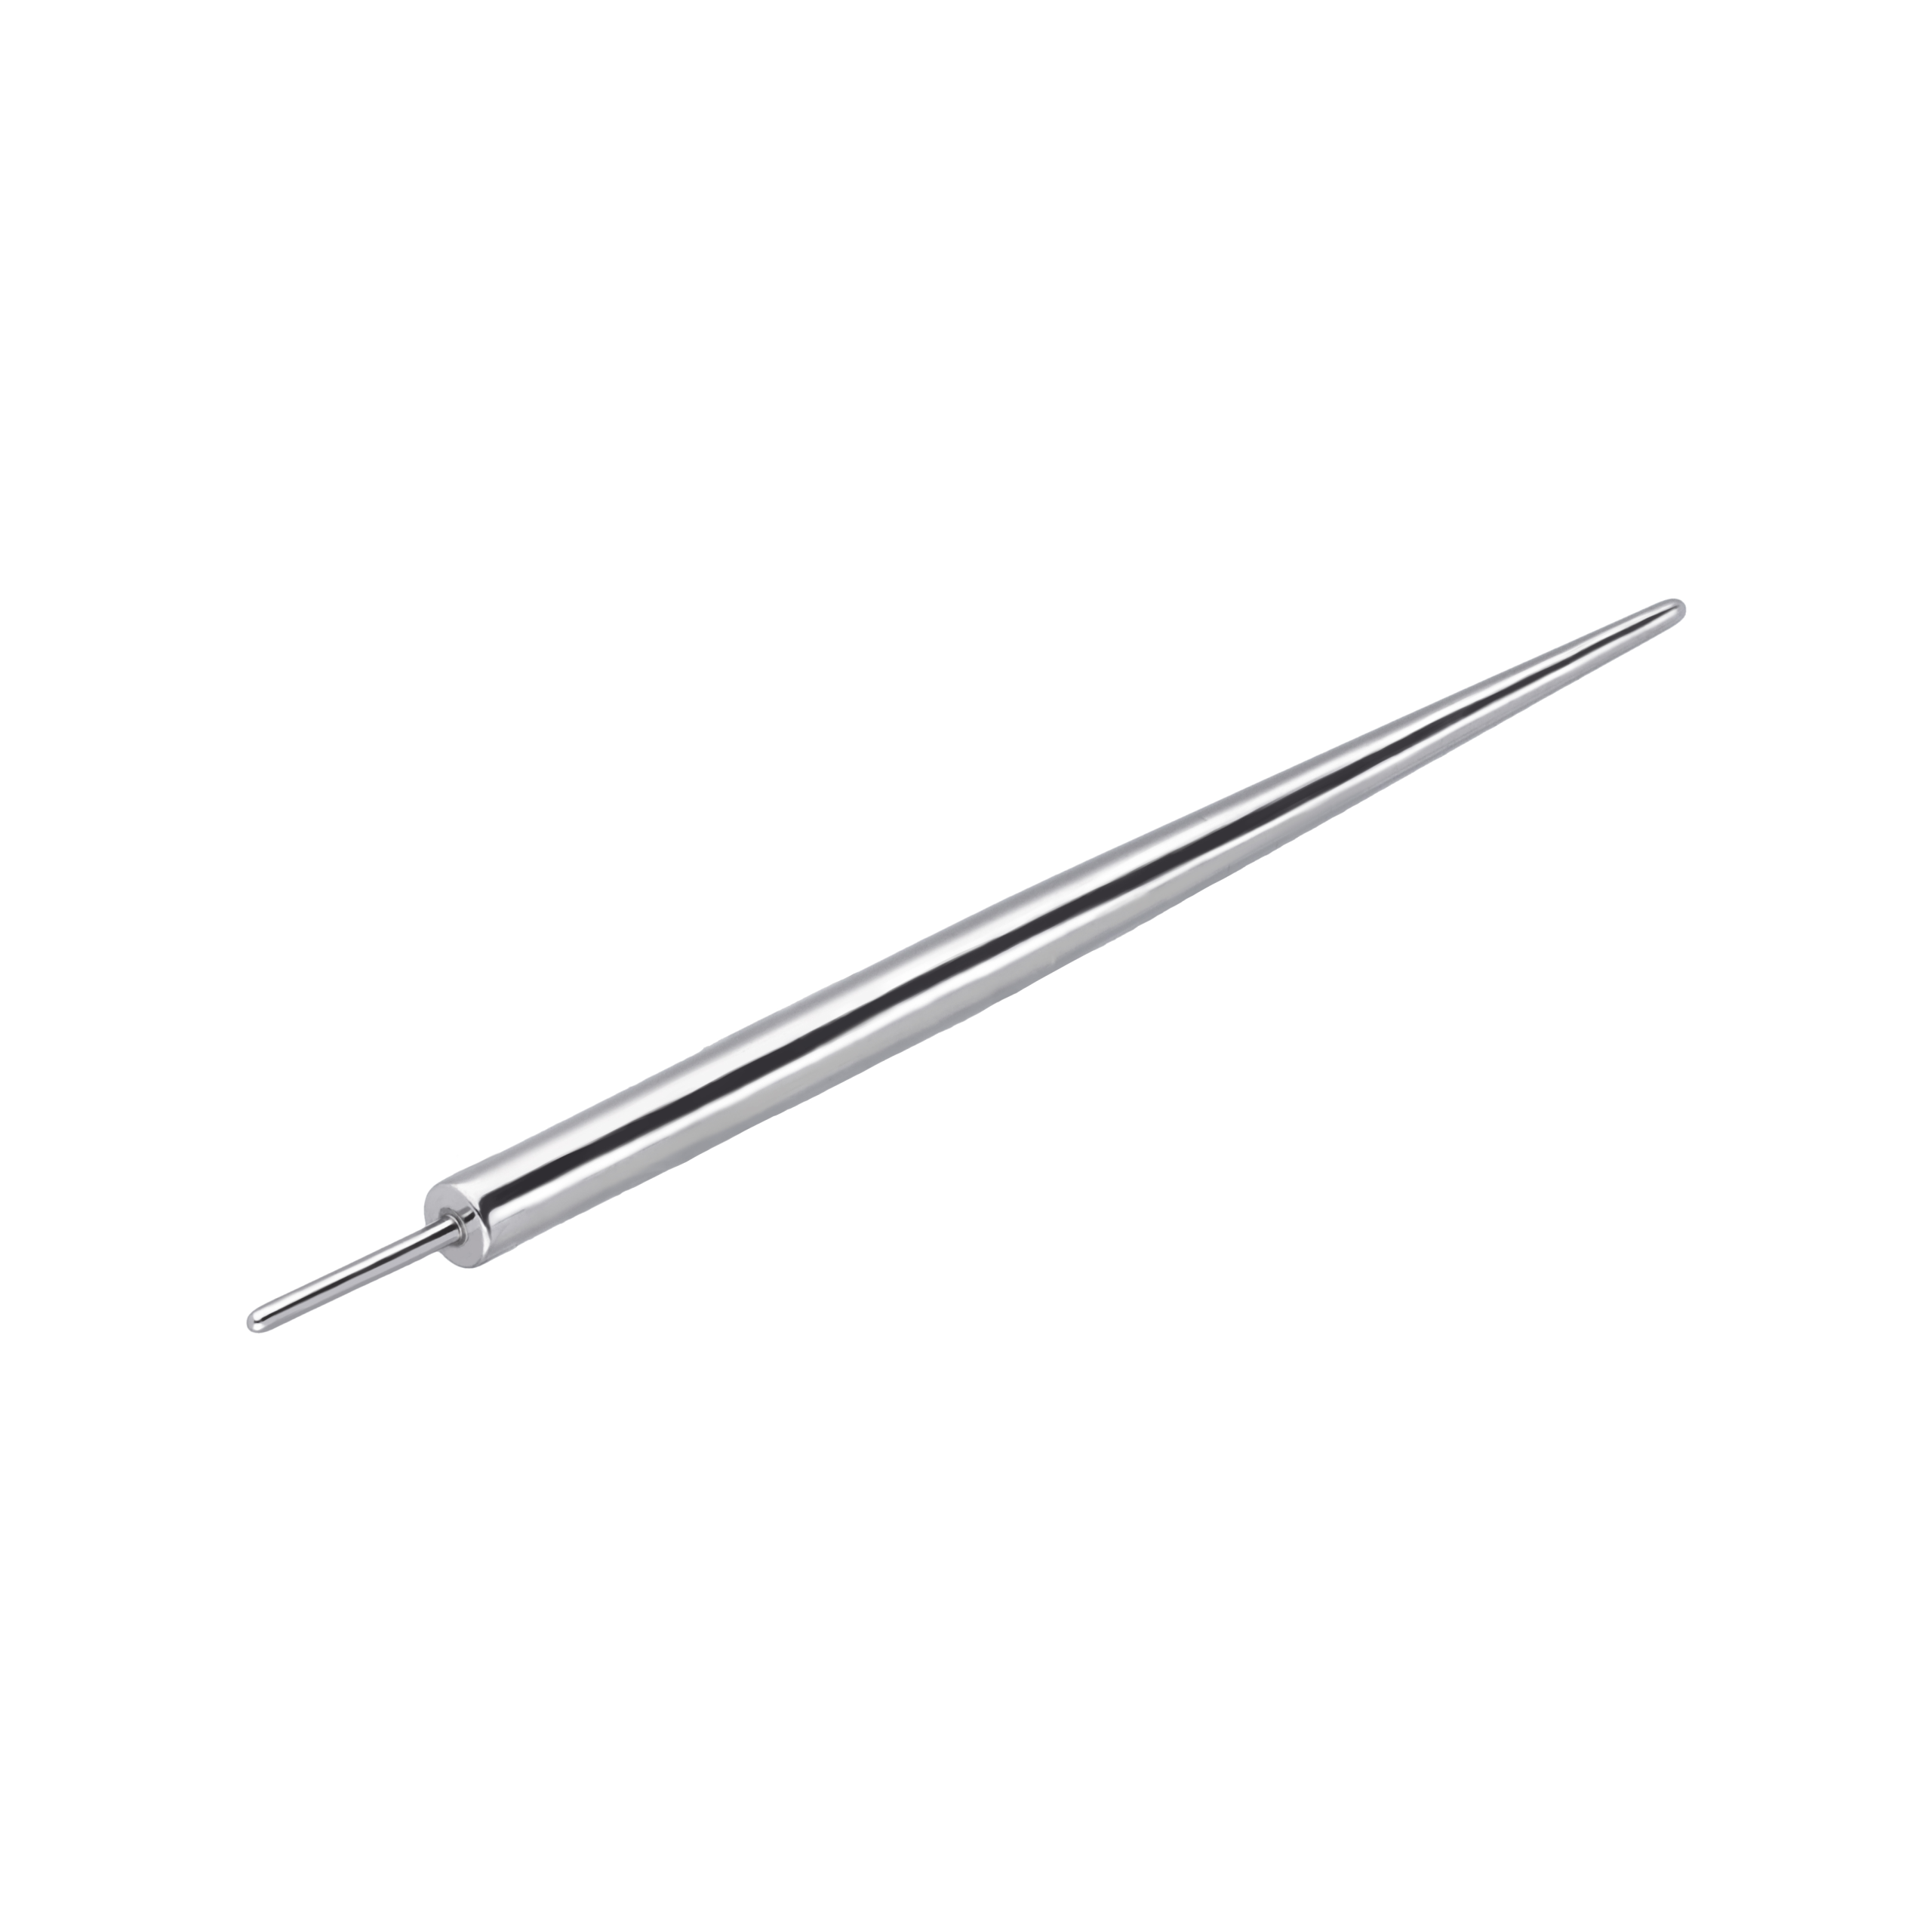
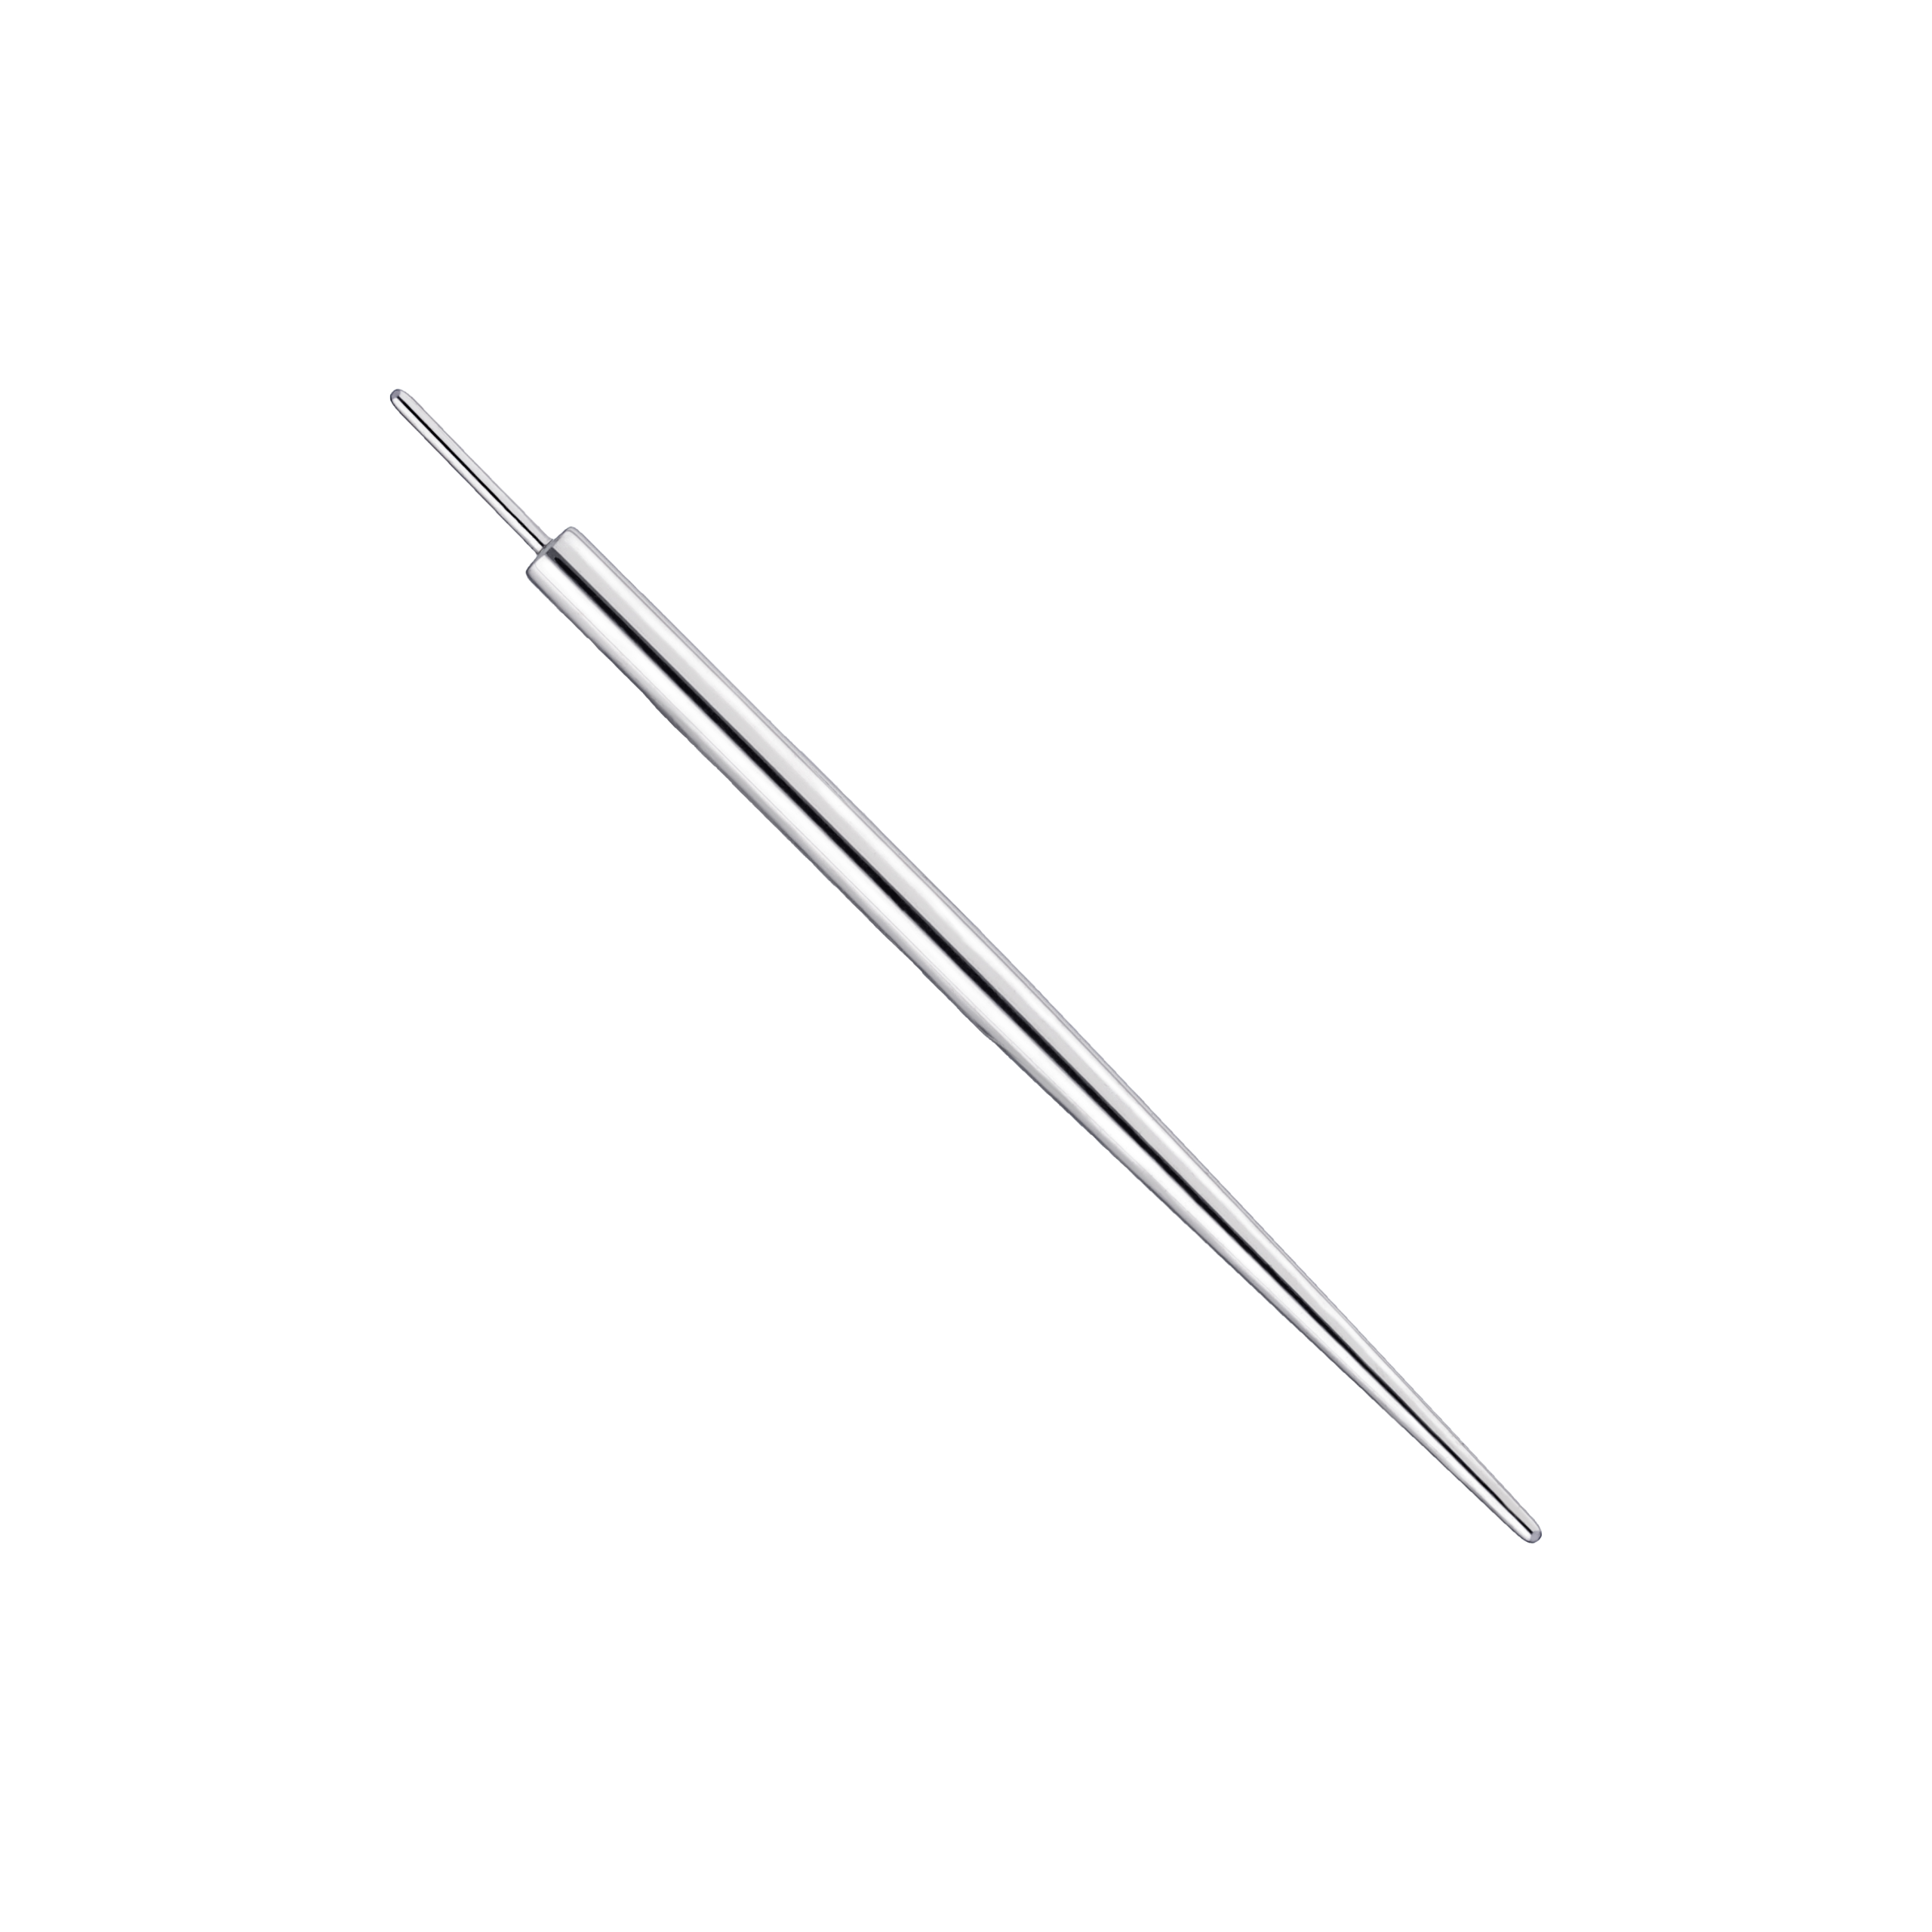
An insertion pin is a tapered tool that guides the post through the piercing. Its thin end leads; its broad end sits in the post bore. The post follows the taper through, and then the top goes in.
At the bench
Fit a threadless top in six steps
Resultado: The top sits flush and holds with firm, even resistance.
The top feels loose? Remove it, add a little bend, and test again.
Keep an insertion pin at every station, in each length you use. Tremun's titanium insertion pins come in 30 mm and 35 mm, for 16G–14G posts.
Bench tools
The post and insertion pins behind every top
If you did not test it, it is not fitted.
Experienced piercers feel a good fit before they test it. Your hand tells you first. The checks below confirm it.
These are simple checks many piercers use at the bench. They are not lab tests or a published standard. No single force value applies to every top and post. We suggest you use them on every fit and to train apprentices.
| Check | What to do | Good sign | Adjust if |
|---|---|---|---|
| Pull | Hold the disc base. Pull the top gently, straight out. | The top holds against a gentle pull. | It slides out easily: add a little bend. |
| Turn | Hold the disc base. Turn the top slowly. | It turns with even resistance, or holds still. | It spins freely: add bend. It will not move at all: check for over-bending. |
| Gap | Look at the join from the side, under good light. | No visible gap between top and post. | You see a gap: push home, or reduce the bend. |
| Seat feel | Push the top home with steady pressure. | One firm, smooth push to a clean stop. | It feels gritty, uneven or stops short: check the bend and the bore. |
| All four good? The fit is ready for your client. | |||
Bench practice, not a published standard. No fixed force value applies to every product. We suggest removal needs steady finger pressure, never pliers.
Screenshot this list for your bench. Run it on every threadless fit.
Most loose tops come from the bend, not the jewellery.
A lost top brings the client back to you, not to the supplier. Most problems trace back to five habits:
Which of these comes up most at your bench? Find it in the table.
Threadless troubleshooting
Still unsure? Send a photo on WhatsApp: +34 675 014 620.
A tired pin is not worth saving. Replace the top, and keep a few spare tops for same-day swaps.
Different metals, different springs.
Pins are made in different metals, and each metal responds to bending in its own way. The points below are general material behaviour. They are not data about any one product.
The bench rule is the same for every metal: one gentle curve, few re-bends.
Pin materials vary between brands and between lines. So check the pin material listed on each product page before you bend a new top.
Check first
Check the pin material listed on each product page before you bend. Not listed or not clear? Ask us on WhatsApp: +34 675 014 620.
Tremun titanium is ASTM F-136, DFARS-compliant and sourced from France. You can check how ASTM F-136 titanium is verified and see our mill certificates.
Tops in titanium
Three settings, one system: titanium ASTM F-136 tops
Top only: post sold separately.
Treat a gold top as a finished jewel: protect the polish, bend with care.
A gold top often carries the highest value on your tray.
A gold top in a titanium post is common practice. Check that the pin gauge matches your post system.
The three 18K tops below are Trinity, Prong Push Pin - Natural Ruby and Tria. All three are designed and made in Italy. Each is hand polished, with a mirror finish. They carry a 25G pin, like our titanium tops.
18K · Made in Italy
18K gold threadless tops, hand polished, mirror finish
Pin material differs by line. Check the product page before bending.
Change the top, keep the post. Or change the post, keep the top.
The threadless system separates the look from the fit. That makes two common jobs quick at the bench.
Changing a top. Hold the disc base firmly. Pull the top straight out. If the tension is high, a slight twist while you pull helps. Then bend the new top, push it home and run the four checks.
Downsizing. The piercer decides when the client needs a shorter post. The client keeps the same top on a shorter post. The Labret 2.0 Push Pin post comes in 5, 6, 7 and 8 mm. You can step down one length at a time.
Re-test the bend every time a top moves to a new post. The same top can feel different in a different post.
Each removal and refit can slowly reduce the tension. So check the fit again after every change, even with a familiar top.
Give the client one short script and one test.
Many studios prefer to change tops for the client at the bench. If your client will change tops at home, teach one method. Share this script with your team, so every client hears the same words.
Say this at the counter
The last line brings the client back to you, not to a supplier.
Both systems work. Choose by workflow and client.
Threadless jewellery holds by a bent pin. Internally threaded jewellery screws into a thread inside the post. The Association of Professional Piercers (APP) lists internally threaded jewellery as "part of the APP standard" for initial jewellery. It describes threadless (press-fit) jewellery as "an acceptable alternative".
| Point | Threadless | Rosca interna |
|---|---|---|
| How it holds | Tension from a bent pin inside the post | A screw thread inside the post |
| Fitting | Post goes in first; top pushes in | Post goes in first; end screws in |
| Changing tops | Pull out, push in; post stays | Unscrew, screw in; post stays |
| Adjusting the fit | Change the bend of the pin | Tighten or loosen the thread |
| Gauge match | One top can fit 16G and 14G posts in one system | End must match the post's gauge and thread |
| Mixing brands | Test-fit; never assume | Thread must match; check both parts |
| APP guidance | "an acceptable alternative" | "part of the APP standard" |
For the full picture of the other system, read our guide to internally threaded body jewellery.
Stock posts by length, tops by style.
Posts are the fixed base: few lines, reordered often. Tops are the variety: many designs, chosen by the client. One simple starting point:
Check your post tray now. Do you have 5, 6, 7 and 8 mm in both gauges?
Keep the same model in two or three sizes and stones, so the client chooses size and stone. Add "pin gauge" and "pin material" columns to your stock sheet.
With no minimum order at Tremun, you can test a new top with a few pieces and reorder what sells.
Ask before you mix brands. Screenshot this list and use it for your next threadless order.
Before you order threadless
Questions to ask your threadless supplier
Send these questions with your order. Keep the answers with the invoice.
Questions about a Tremun top or post? Ask us on WhatsApp: +34 675 014 620
At Tremun
Our titanium is ASTM F-136, with mill certificates on our página de certificados. Tops are sold without post. There is no minimum order. For pin material or fit questions, ask us on WhatsApp: +34 675 014 620.
Post, insertion pin and top from one system.
Tremun supplies every part of the threadless routine from one place. The Labret 2.0 Push Pin post and the titanium insertion pins are the base. The tops are what the client sees and chooses.
Our titanium tops are ASTM F-136, DFARS-compliant and sourced from France, with a 25G push pin. Trinity, Prong Push Pin - Natural Ruby and Tria are 18K, designed and made in Italy. They are hand polished, mirror finish.
More than 3,500 studios trust Tremun. Start with the pieces below.
Tremun · Titanium ASTM F-136 and 18K gold
Threadless tops and tools in real pieces
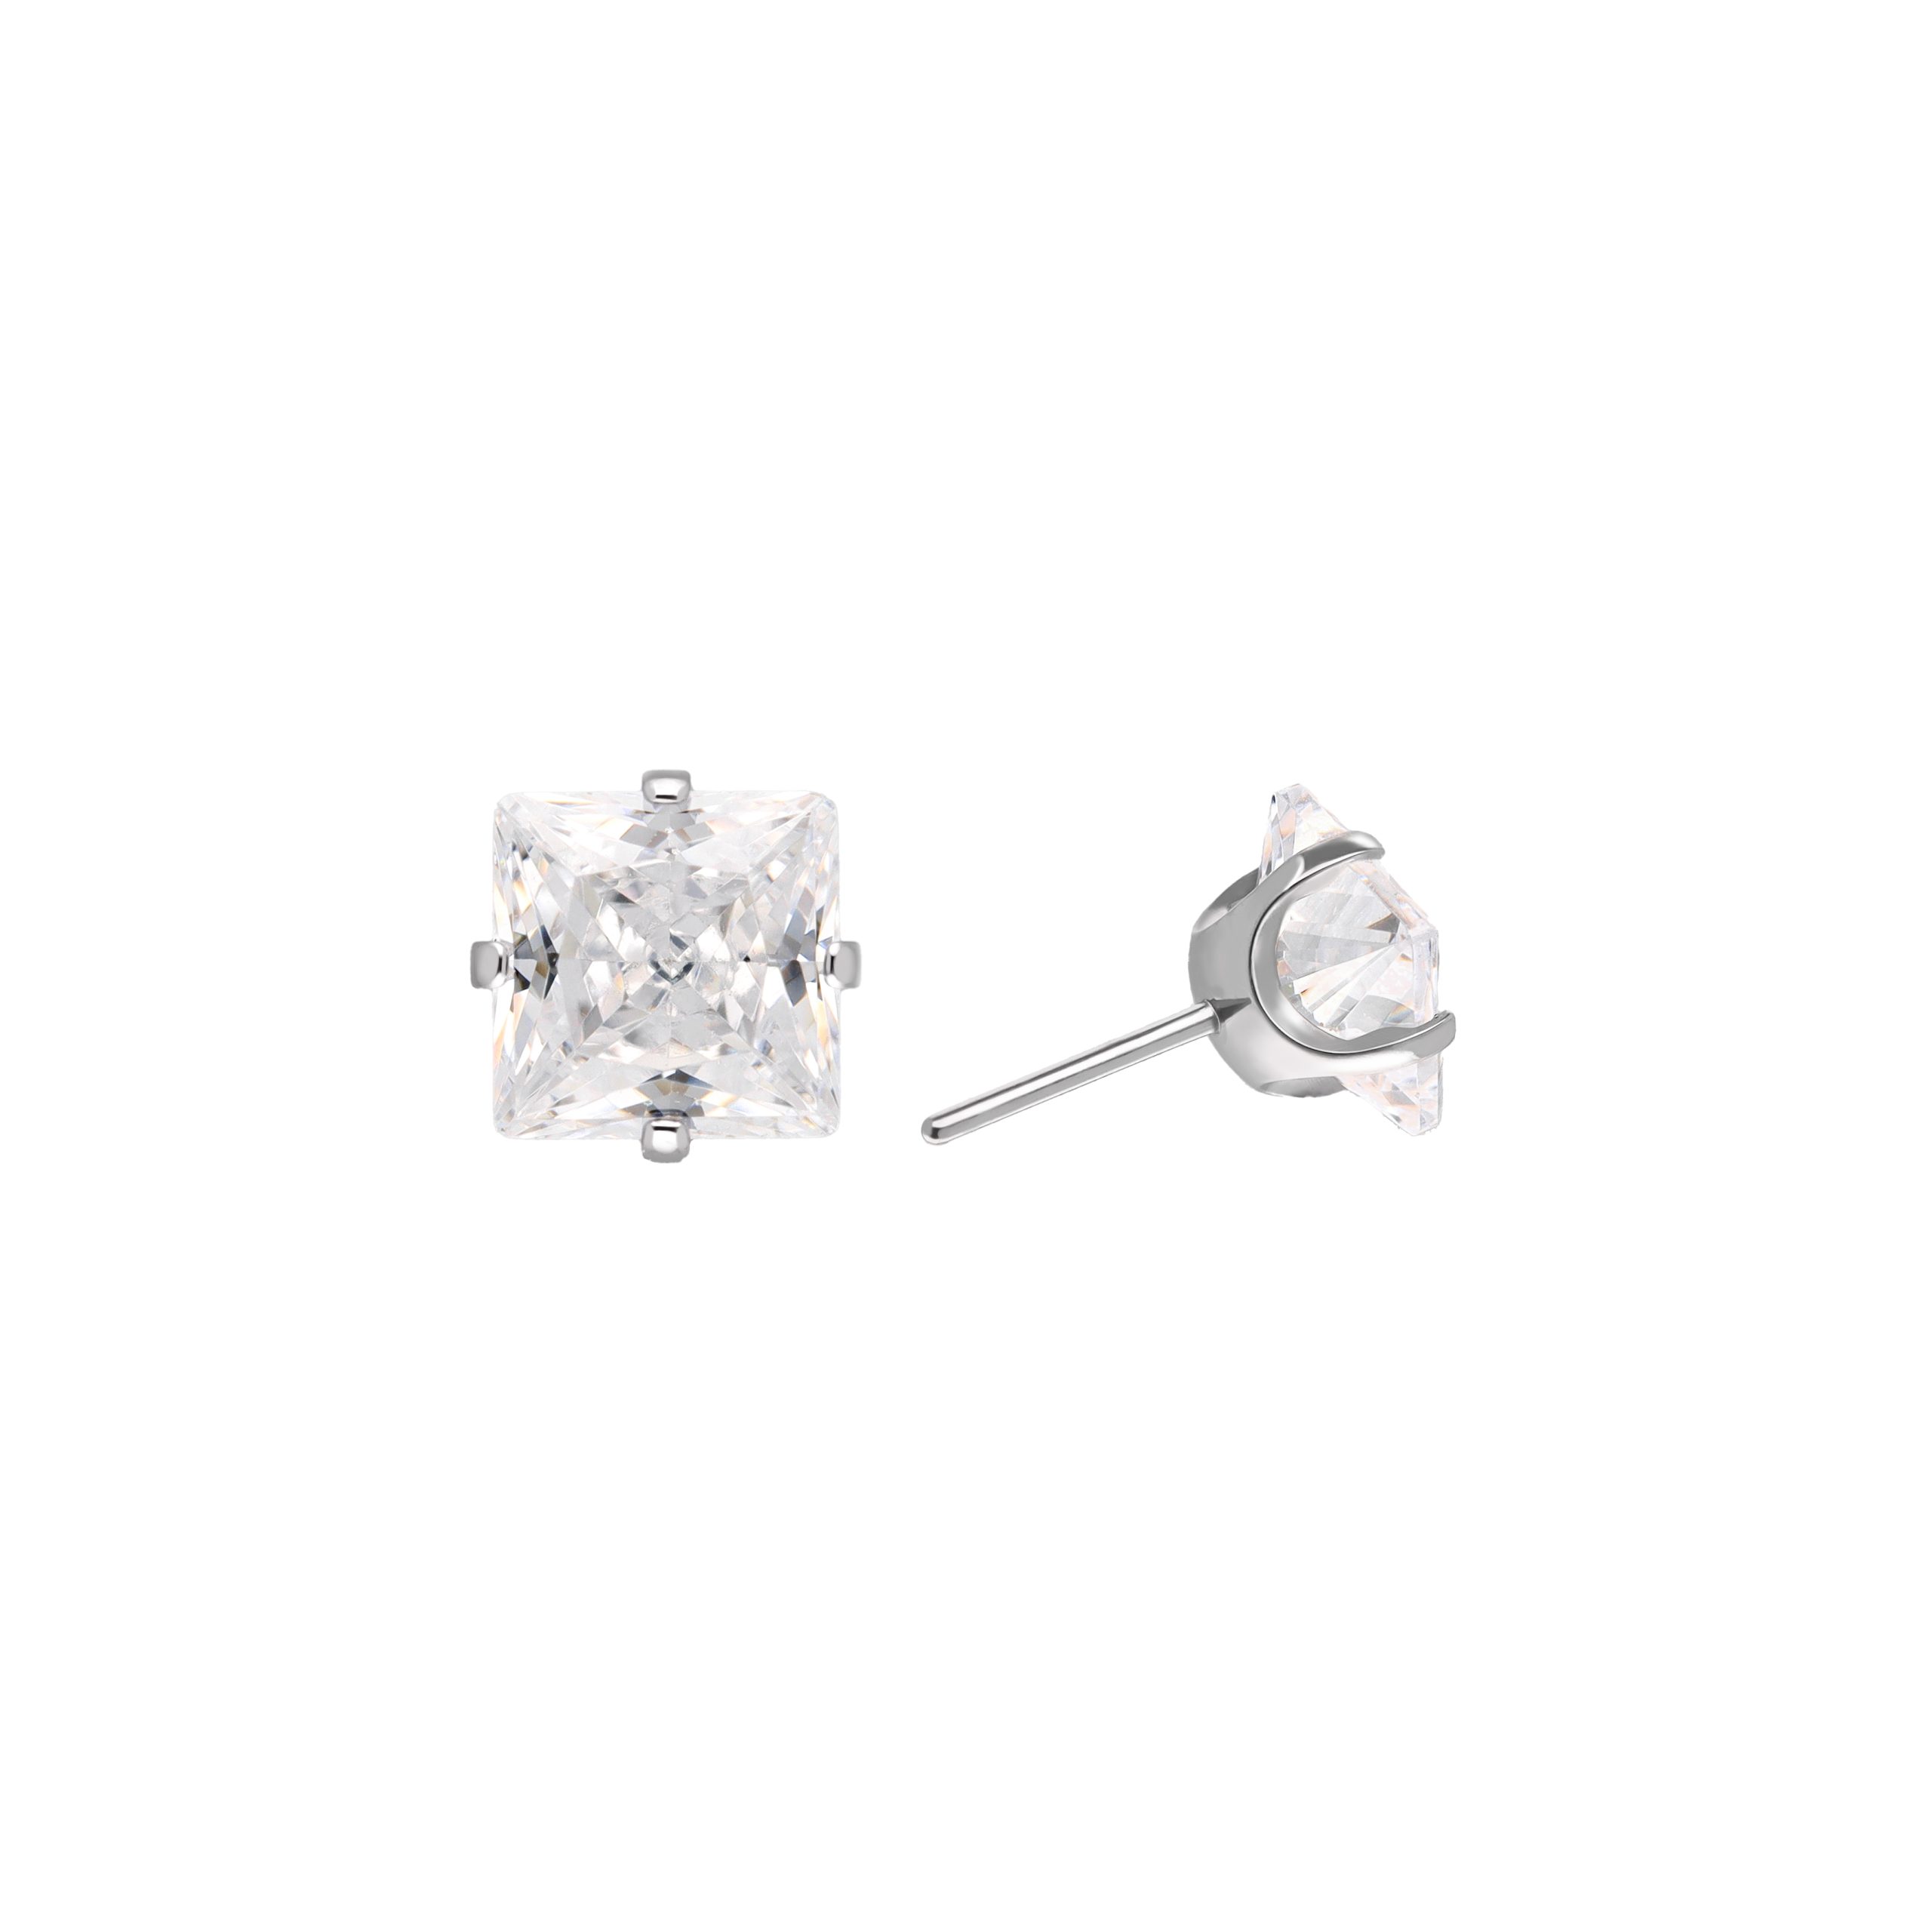
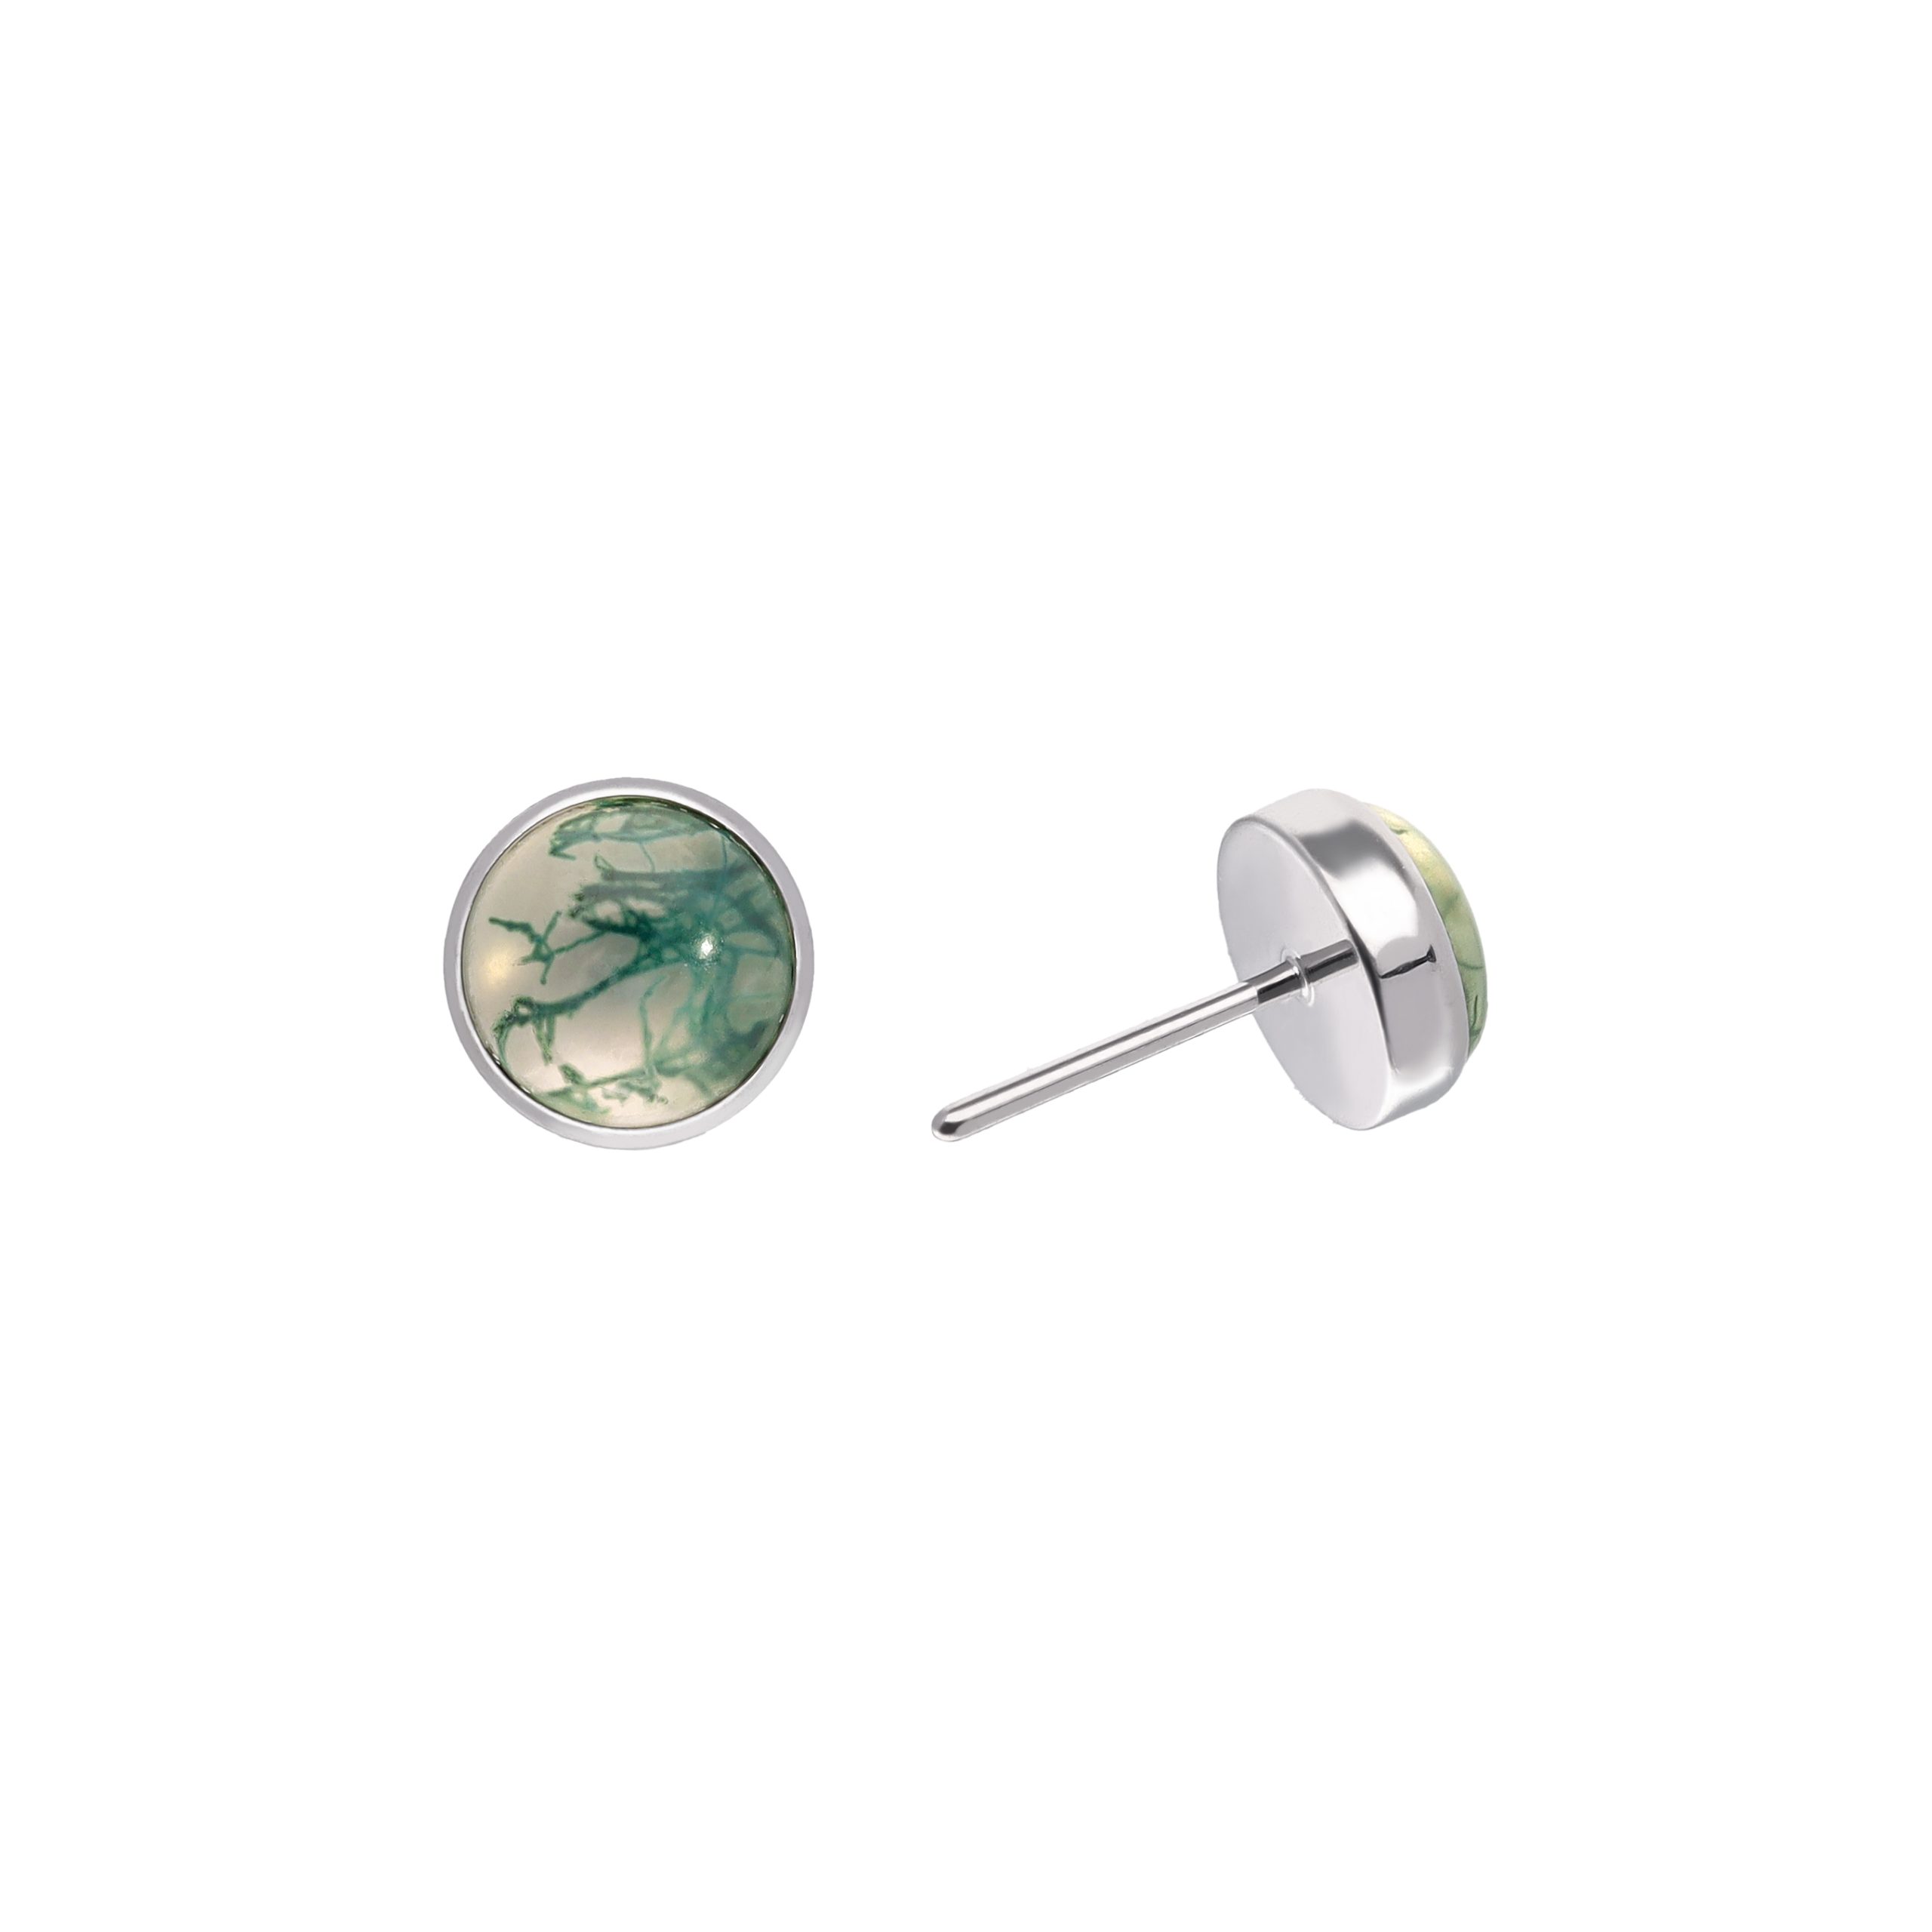
Decorative tops in titanium and 18K gold, and the insertion pin that fits them in.
Tops are sold without post. Check the pin material on each product page. Prices are visible to approved accounts.
For professional piercers
See prices for Tremun threadless jewellery
Tremun sells only to professional piercers and studios. Accounts are approved within 24 hours. Then you see prices for every top, post and insertion pin.
Threadless jewellery stays in by tension. The top has a thin pin, which you bend gently before you push it into the hollow post. Inside the post, the bent pin presses against the inner wall. That pressure creates friction, and the friction holds the top. More bend gives a tighter fit; less bend gives a looser fit.
Start with less bend than you think you need. Make one gentle, even curve along the pin, never a sharp kink and never at the base. Push the top home, then test with a pull and a turn. Add a little more bend only if the top comes out too easily. Small steps mean fewer re-bends.
You can adjust a pin a few times, but every bend and straighten cycle fatigues the metal. Over time, the pin weakens and can snap. So aim for one gentle bend, then small corrections only. If a pin is marked, kinked or keeps losing tension, replace the top. Do not keep re-bending the same pin.
A threadless top usually falls out because the pin has too little bend. Snags from hair, towels or clothing can also straighten a pin over time. Add a small, even bend and test again with a pull and a turn. If the top still loosens after one correction, the pin may be tired. Replace the top.
Pin gauges vary by maker. Tremun titanium tops list a 25G push pin, which is about 0.45 mm. That pin fits the Tremun Labret 2.0 Push Pin post in 16G (1.2 mm) and 14G (1.6 mm). The post gauge is the number that matters for the piercing. Check each product page for the pin gauge.
Sometimes, but never assume it. Pin diameter and post bore differ between makers, so a top can sit loose or tight in another brand's post. Tremun does not promise cross-brand fit. Test-fit before the appointment, and check the pin gauge on both product pages. For questions about a Tremun top or post, ask us on WhatsApp: +34 675 014 620.
Yes, this is common practice. Check that the pin gauge matches your post system. Read the pin material on the product page before you bend. Gold tops need gentle handling: hold the setting, not the stone, and keep bare tools away from the polish. Trinity, Prong Push Pin - Natural Ruby and Tria are 18K, designed and made in Italy, hand polished, mirror finish.
Neither system is better in every case. Threadless holds by a bent pin, and tops change quickly. Internally threaded holds by a screw thread inside the post. The APP lists internally threaded jewellery as "part of the APP standard". It calls threadless (press-fit) jewellery "an acceptable alternative". Choose by your workflow and your client.
Teach one method. The client works over a clean, flat surface, not a sink. They hold the back disc and pull the top straight out. Then they push the new top straight in until there is no gap, and give it a gentle pull. They never bend the pin at home. If a top feels loose, they come back to the studio.
Tremun sells only to professional piercers and studios. Register at tremunpiercing.com/registration/. Accounts are approved within 24 hours, and then prices are visible. There is no minimum order, with free DHL Express from €350 (VAT incl.). Tops are sold without post, so order Labret 2.0 Push Pin posts and insertion pins with them.
The Tremun Team
 English English
 Croatian
 Dutch
 French
 German
 Italian
 Romanian
 Spanish
 Ukrainian