- Levenslange garantie
- 100% Beveiligde betalingen
- Gratis verzending bij bestellingen boven €350
- Snelle verzending met DHL Express
- Alleen voor professionals
- Geen minimumbestelling vereist
- Moissaniet met GRA-certificaat
- ALLEEN GEVERIFIEERDE PIERCERS

Seven checks, one log, and a clear rule for every piece that fails.
By The Tremun Team · Barcelona, Spain · Updated 18 November 2026
A box arrives, and a client is booked for tomorrow. Many problems a studio meets at the chair were visible on arrival. Think of a burr at a thread opening, or a prong that stands high. Or a 1.6 mm (14G) post in a 1.2 mm (16G) bag. Body jewellery inspection catches them at the bench. This guide gives you a seven-step routine, pass/fail tables, a defect gallery and a printable log. It comes from more than 10 years of experience supplying professional piercers across Europe.
In het kort
Four rules for receiving jewellery
Body jewellery inspection is a short check a studio runs before stock reaches the tray. Read the labels and paperwork, then use a 10× loupe, good light and digital calipers. Check the finish, internal threads or threadless pins, stone settings, ring closures and packaging. Log every delivery. Quarantine and photograph any failed piece, then report it to the supplier.
10× loupe
Finish and settings
Nicks, scratches, burrs, residue, prongs.
Digital calipers
0.01 mm
Gauge, length, inner diameter, disc.
Known test post
Same system
Threads and threadless pins, by hand.
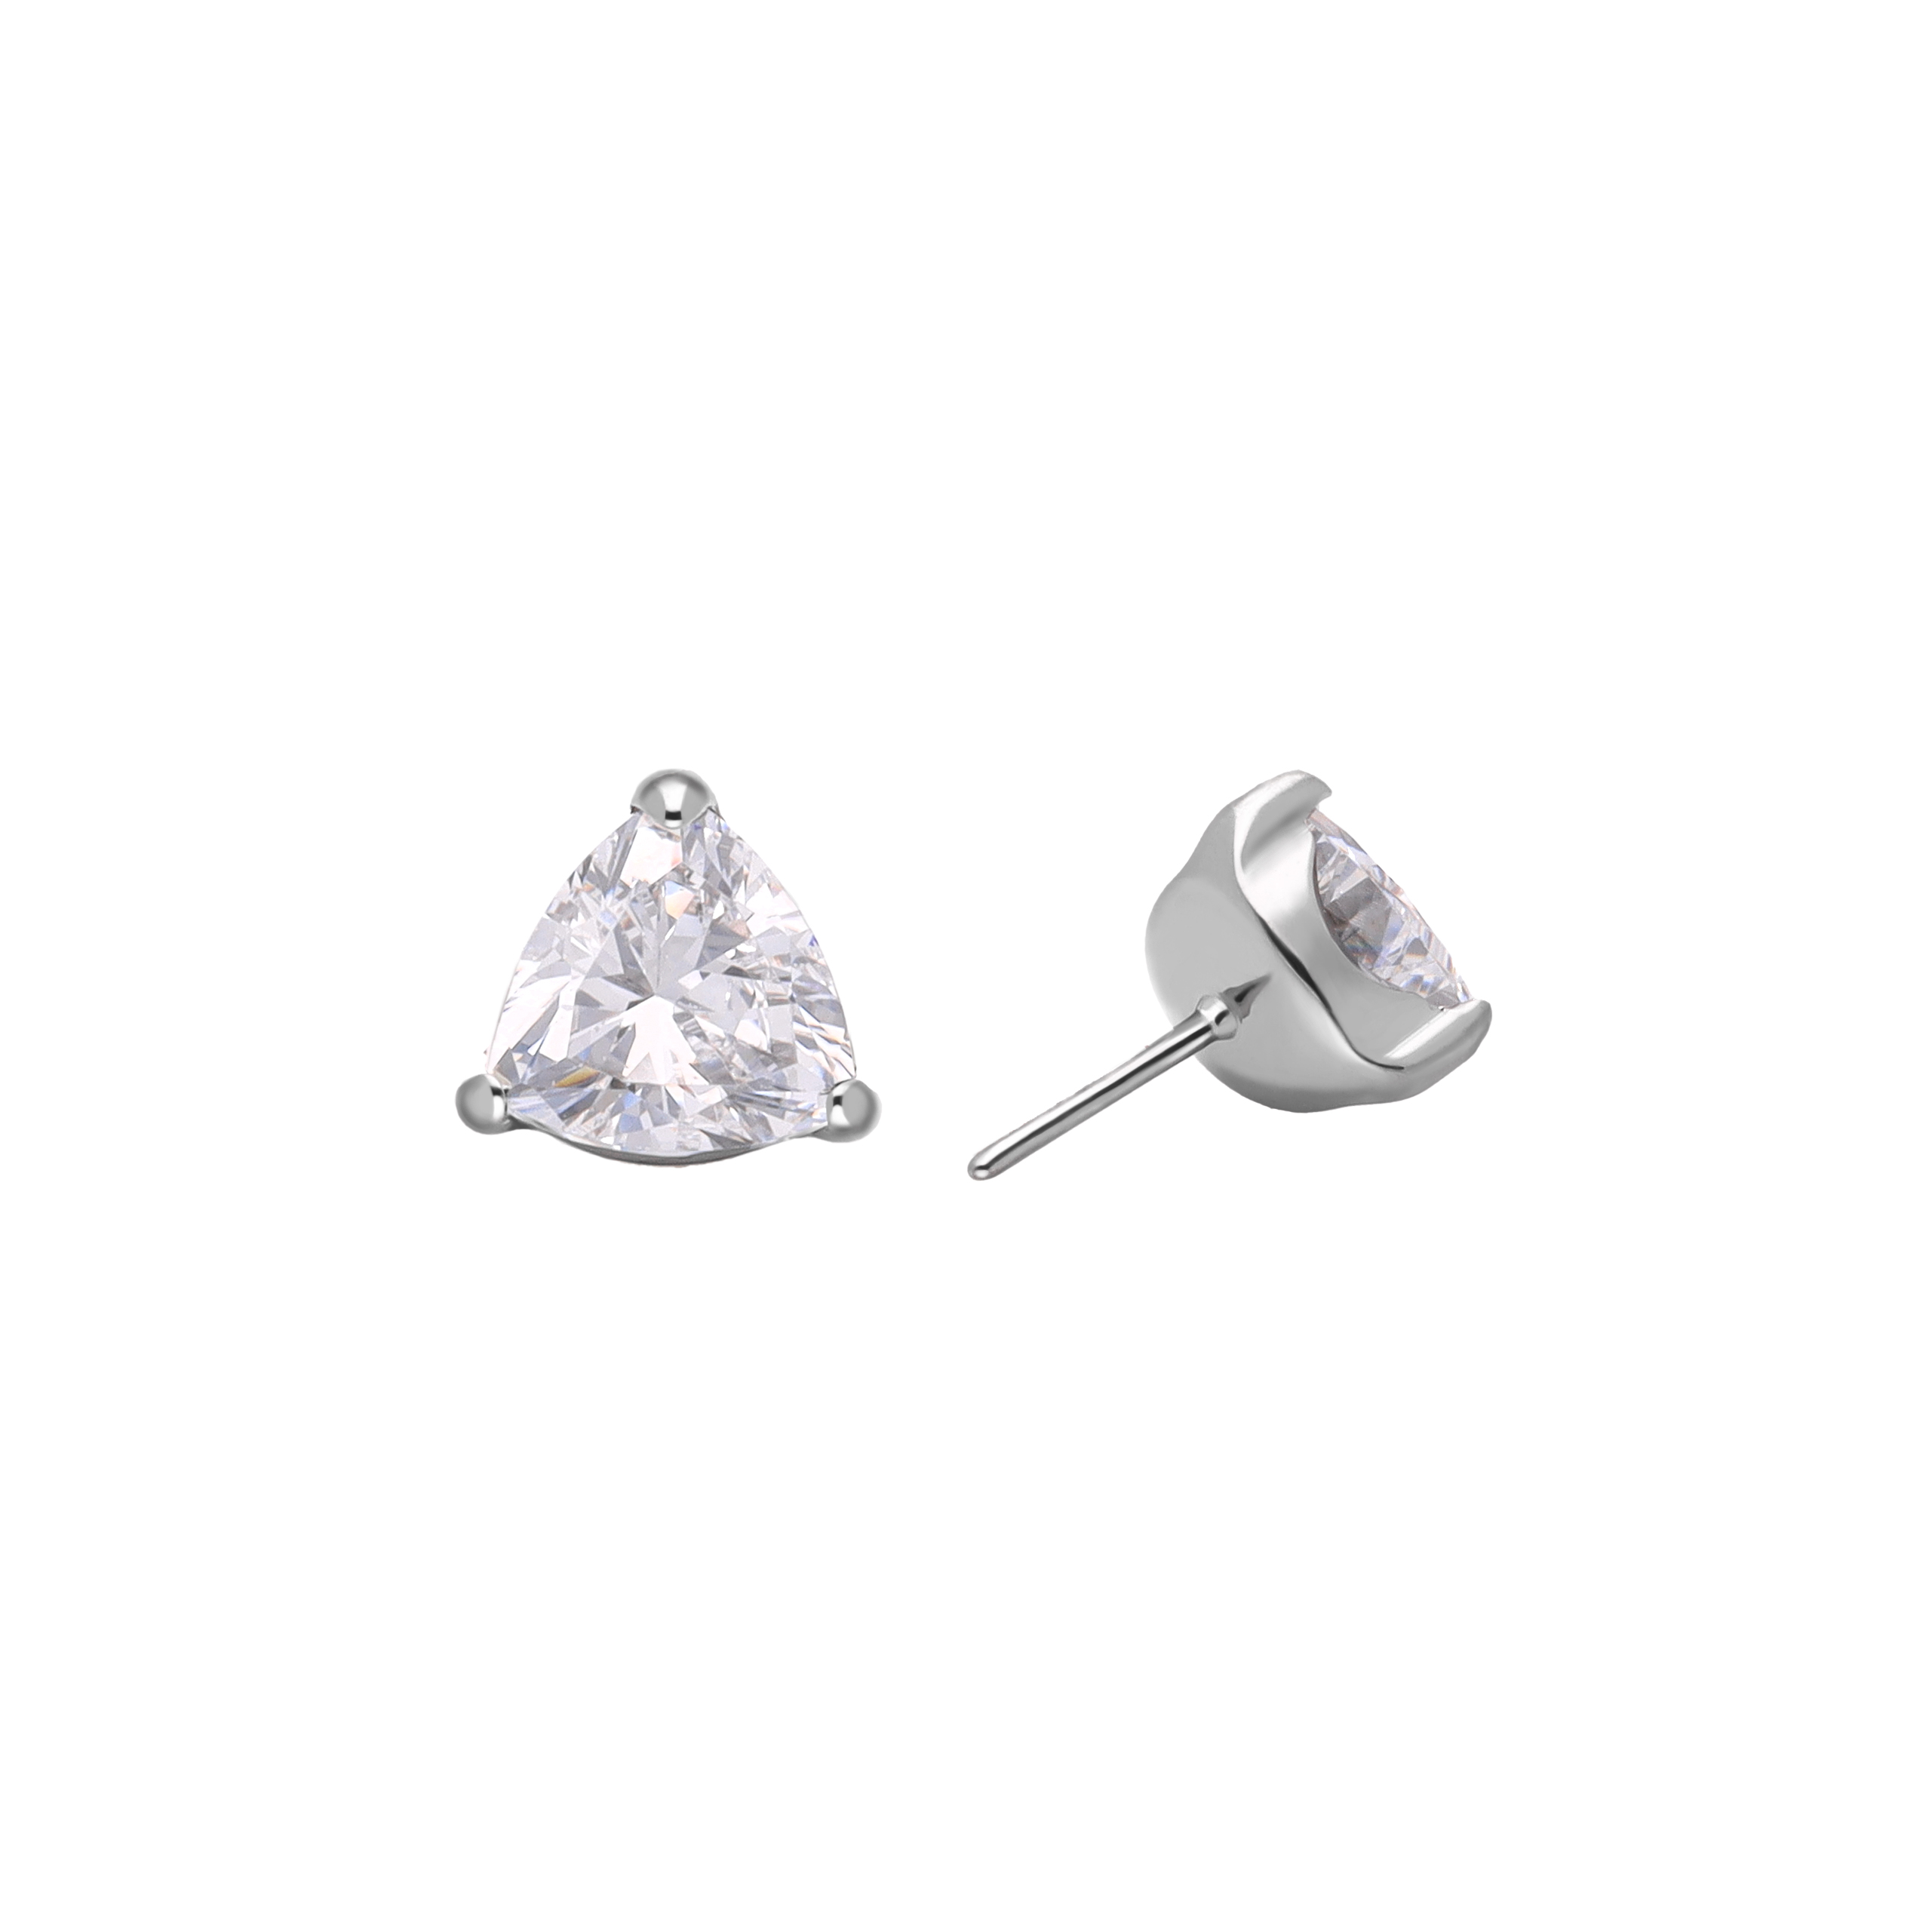
Already approved? See a three-prong trillion-cut basket that is not glued.
The 5-minute version
Inspect at the bench, not at the chair.
Three kinds of problem can arrive in a box. Transit damage: a crushed box or a torn bag. A packing mix-up: the wrong gauge, length or colour. A finish or setting defect that left the supplier unseen.
A fault found on arrival is a simple supplier claim. Found at the chair, it costs you an appointment slot.
The Association of Professional Piercers (APP) gives a clear benchmark for finish. Its minimum standard for initial piercing jewellery asks for surfaces "free of nicks, scratches, burrs, and polishing compounds". It also asks for a "consistent mirror finish". These words are your starting checklist.
Same order, every box.
One routine for every delivery makes the check fast. Never mix two deliveries on one bench.
Receiving workflow
Seven steps from box to tray
Unpack
One order at a time, on a clean tray.
Paperwork
Match packing list, labels and order: gauge, length, material.
Look
Loupe and daylight: finish, settings, stones.
Measure
Calipers: gauge, length and diameter against the label.
Test
Threads, threadless pins and ring closures, by hand.
Fails at step 2, 3, 4 or 5
FailQuarantineReport to supplier
Photograph it, keep the packaging, quote the order number. Do not use it.
Log
Order number, result, date and who checked.
Tray
Passed pieces only. Failed pieces go to quarantine.
Pass: To the tray.Fail: To the quarantine bin. Photograph and report.
After inspection, follow your studio's own reprocessing protocol.
Good light finds more than good eyes.
Place a daylight lamp to one side, at about 45°. Side light makes scratches flash as you turn the piece. A white mat shows dark residue; a dark mat shows bright burrs. Keep test posts apart from stock, in a bag labelled "TEST – not for clients".
Receiving kit
Eight tools on the receiving bench
Keep the kit in one place. Add a cotton pad for the snag test.
If the label and the piece disagree, the piece waits.
Count the bags against the packing list, and the packing list against your order.
Each bag label should tell you:
Record the batch or lot reference when the label gives one. Traceability goes as far as the supplier's documents go.
Bags should be sealed and intact. Photograph a crushed or wet box before you open it. Keep all packaging until the check is finished.
A mill certificate covers one heat of raw metal. It says nothing about the finish of a finished piece, its threads or its settings. ASTM F-136 sets the chemistry and mechanical properties of the titanium alloy. It does not grade the polish on a finished piece. So you need both: the certificate for the metal, your own check for the piece.
Documents to keep
Tremun publishes the mill certificates for its titanium, with an independent lab report from Metaltest (Spain). You can read and save them on our certificates page before you file the order.
Look at the piece, then look again at an angle.
A well-finished piece shows one even mirror under a 10× loupe. Work in this order:
Draw a cotton pad over the edges: if fibres catch, look for a burr. Dark paste in a corner is polishing compound residue.
Plain titanium should look an even silver-grey. Coated finishes such as PVD need their own checks; ask the supplier what to look for.
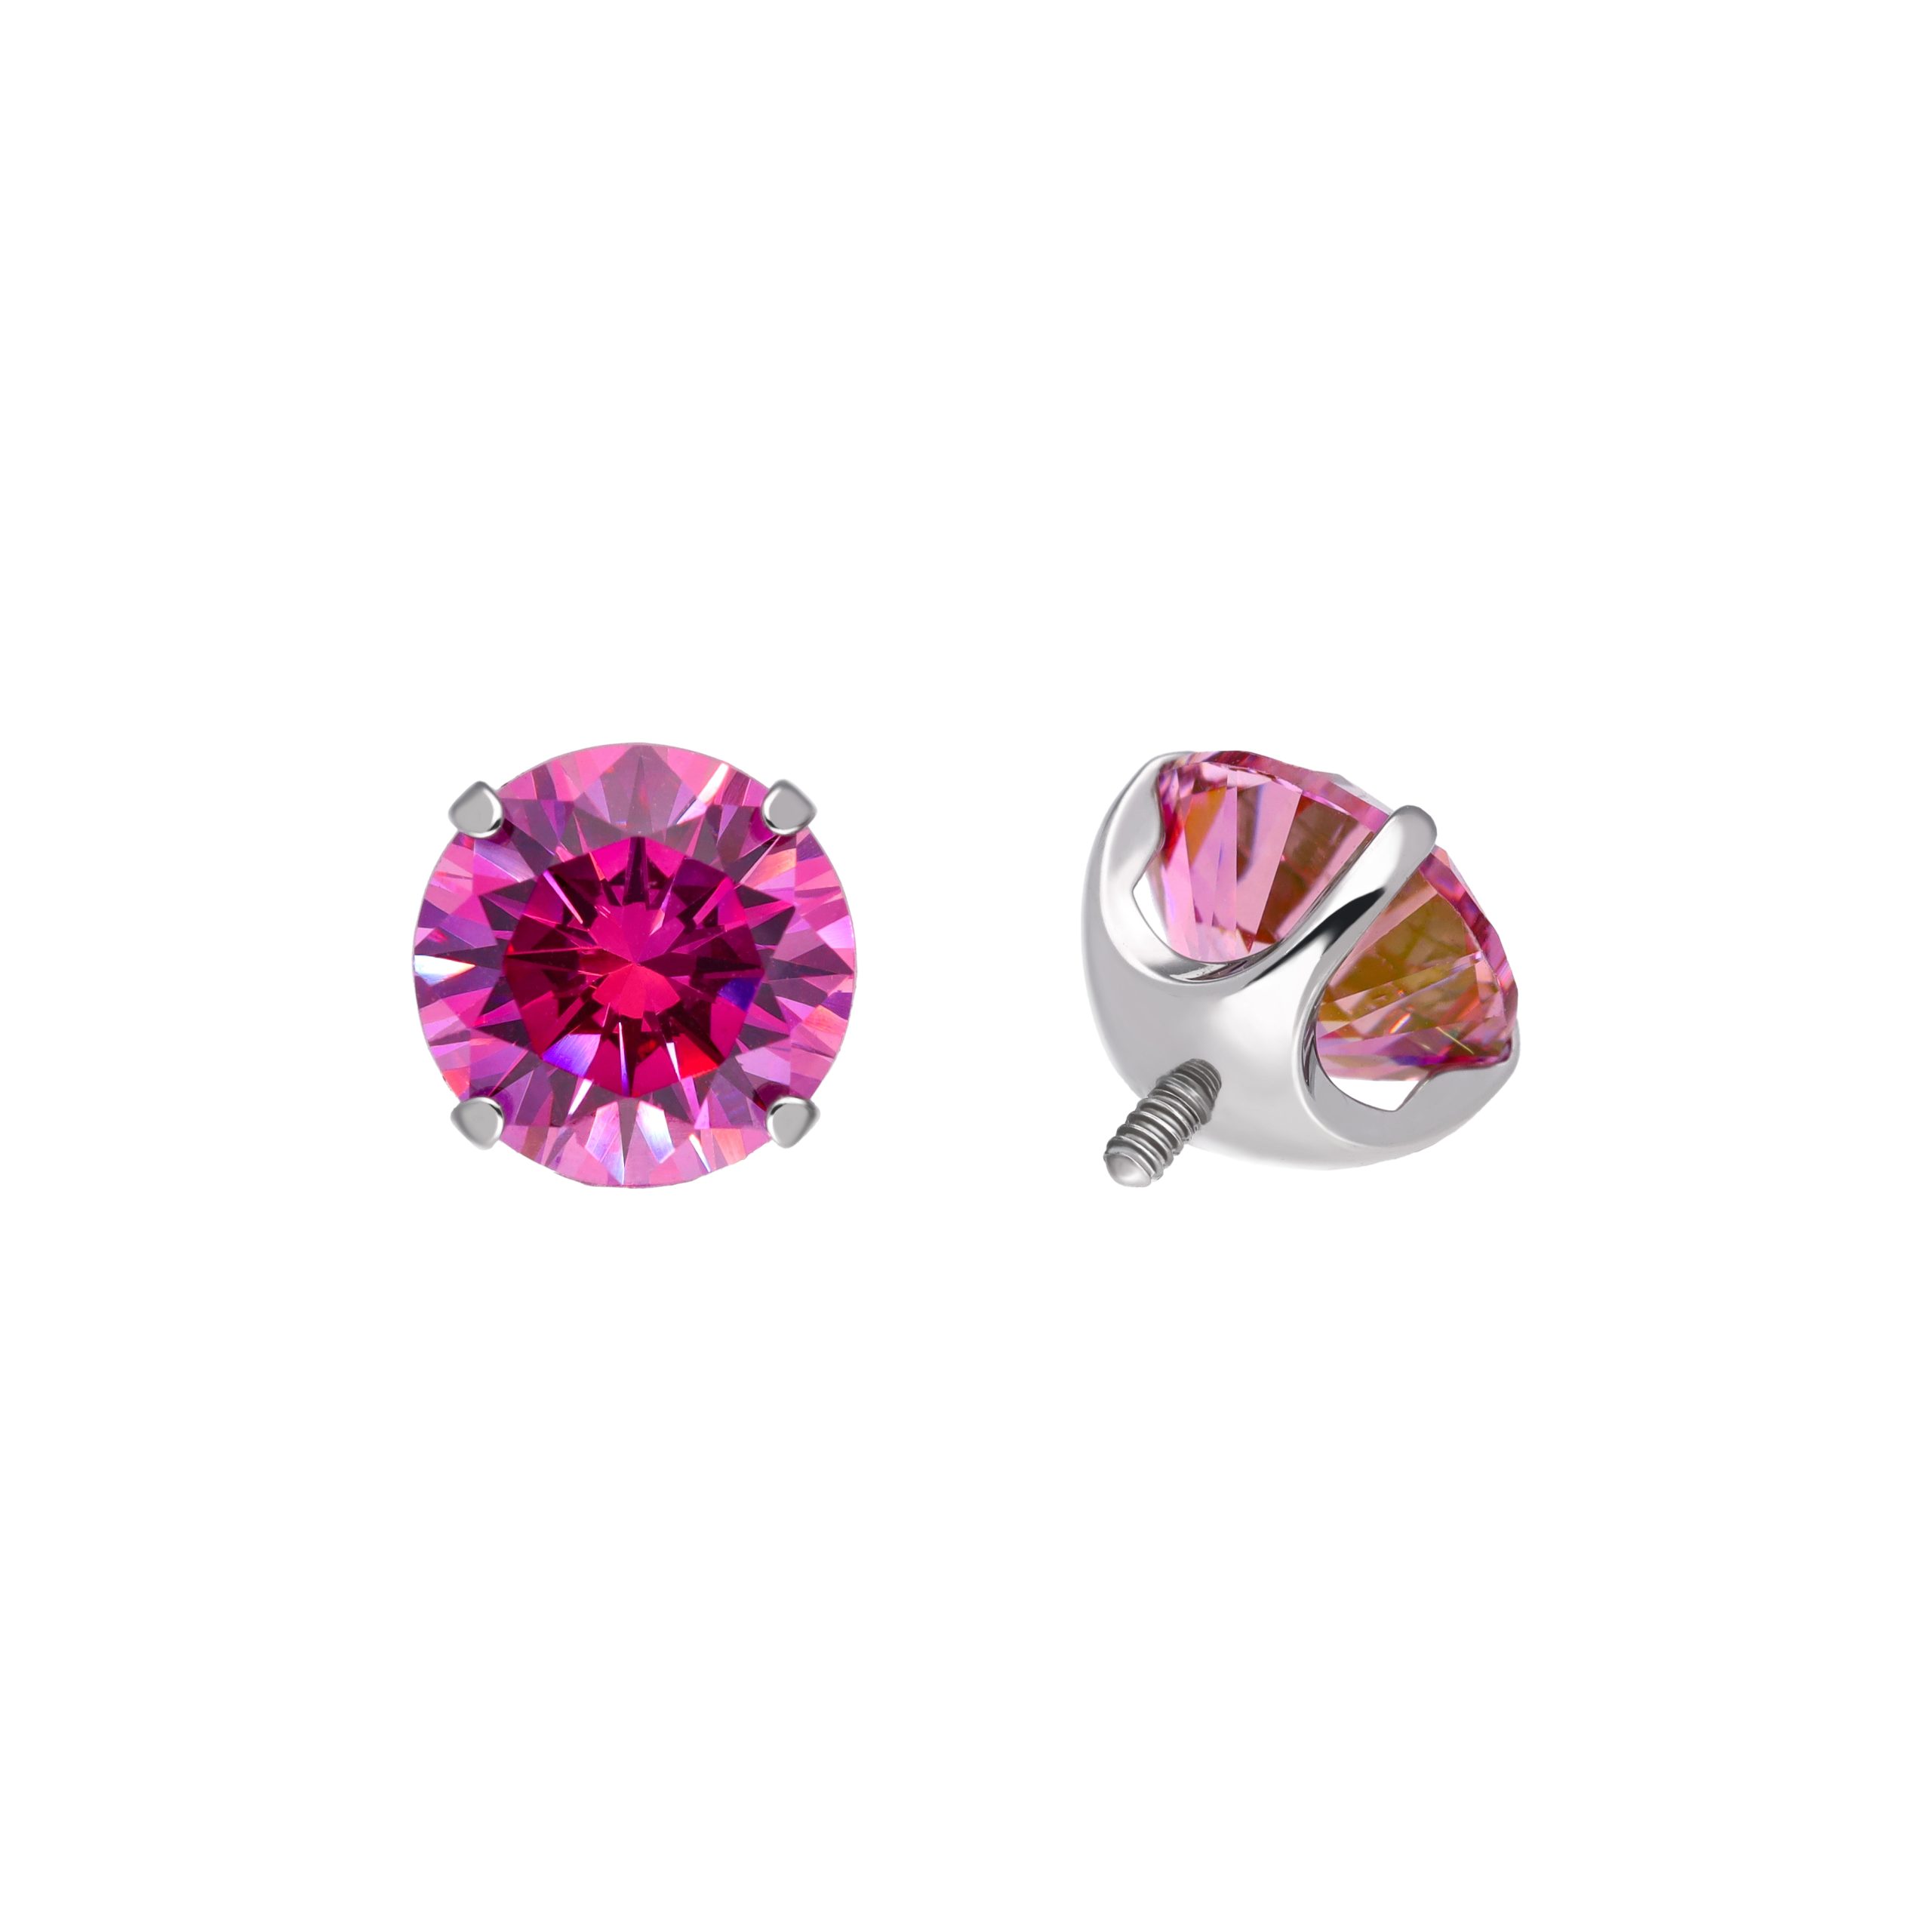
Tremun 18K pieces are designed and made in Italy, and hand polished to a mirror finish. On titanium settings, turn the top under side light. Check the prong bases and the bezel rim, as on our rubellite-colour prong top.
Defect gallery
Eight things to look for under the loupe
Scratch
Fine line across the polish
Nick
Small dent in an edge
Burr
Raised metal sliver
Pit
Tiny holes in the surface
Compound residue
Dark paste in corners
Uneven prong
One prong short or lifted
Tilted stone
Table not level
Open bezel
Gap in the rim
Pass / fail · Surface finish
Surface finish under a 10× loupe
Reflection
PassOne even mirror, end to end
Fail → actionDull, cloudy or rippled patchesQuarantine and photograph
Scratches
PassNo lines under side light
Fail → actionScratches or tool marksQuarantine and photograph
Nicks
PassEdges and disc rim unbroken
Fail → actionA dent or notch in an edgeQuarantine and photograph
Burrs
PassCotton pad glides over every edge
Fail → actionFibres catch or an edge feels sharpDo not use
Pits
PassNo holes at 10×
Fail → actionPinholes or pitsQuarantine and photograph
Compound residue
PassClean metal in every corner
Fail → actionGrey, dark or greenish pasteReport to supplier
Any fail goes to the quarantine bin.
Finish you can check under a loupe
Mirror finish and clean settings, up close
Turn each piece under side light. Tops are sold without post.
Measure what sits in the piercing, then compare it with the label.
Measure at least one piece from every bag.
Close the jaws just to contact, and keep the calipers square to the piece. Some labels give 16G as 1.2 mm, others as 1.3 mm. Compare your reading with the mm value the supplier lists.
There is no published industry tolerance for body jewellery. Set your own limit, write it down and apply it to every supplier. When a reading differs from the label, write the actual value in the log.
For example, the Labret Post 16G is listed as 1.2 mm (16G), in 3–12 mm, with a 4 mm disc.
Two turns by hand tell you more than a spec sheet.
An internal thread should be clean, complete and free of burrs. Under the loupe, look into the post opening: no metal flakes, no flattened ridges, no raised lip at the rim. On the top, the threaded pin should be straight and centred.
Then test the fit by hand, with a known post or top from the same system:
Stop if it catches or suddenly stiffens. Never use pliers. A top that goes in at an angle and stiffens early is cross-threaded: unscrew it at once. It fails. Test new posts the same way, with a known top.
Use test posts from the same product line you stock. Fit between brands is not guaranteed: check it, never assume it. For background, read how internally threaded body jewellery works.
Pass / fail · Internal threads
Internal threads, by loupe and by hand
Thread opening
PassClean rim, no lip
Fail → actionBurr or raised edge at the openingQuarantine and photograph
Thread surface
PassComplete thread, no flakes
Fail → actionFlattened, torn or missing threadQuarantine and photograph
Hand fit
PassSmooth, even turn by fingers
Fail → actionCatches, feels gritty or needs forceStop, do not force
Seats flush
PassTop sits flat on the post
Fail → actionTop stops short or tiltsQuarantine and photograph
No wobble
PassStays seated after a light twist
Fail → actionMoves, wobbles or shows a gapReport to supplier
Hand only. If it needs force, it fails.
Check the pin straight; bend it later, at fitting.
A new threadless top needs three checks: the pin, the post opening and a test fit. Do not set the bend during inspection. Each extra bend tires a fine pin.
Then test-fit the straight pin in a marked test post of the same line. Seat: a smooth push to a clean stop. Gap: none at the seat. Turn: no catching. Pull: it slides out cleanly, with no grit. A straight pin will not hold yet. The hold comes from the bend you set at fitting.
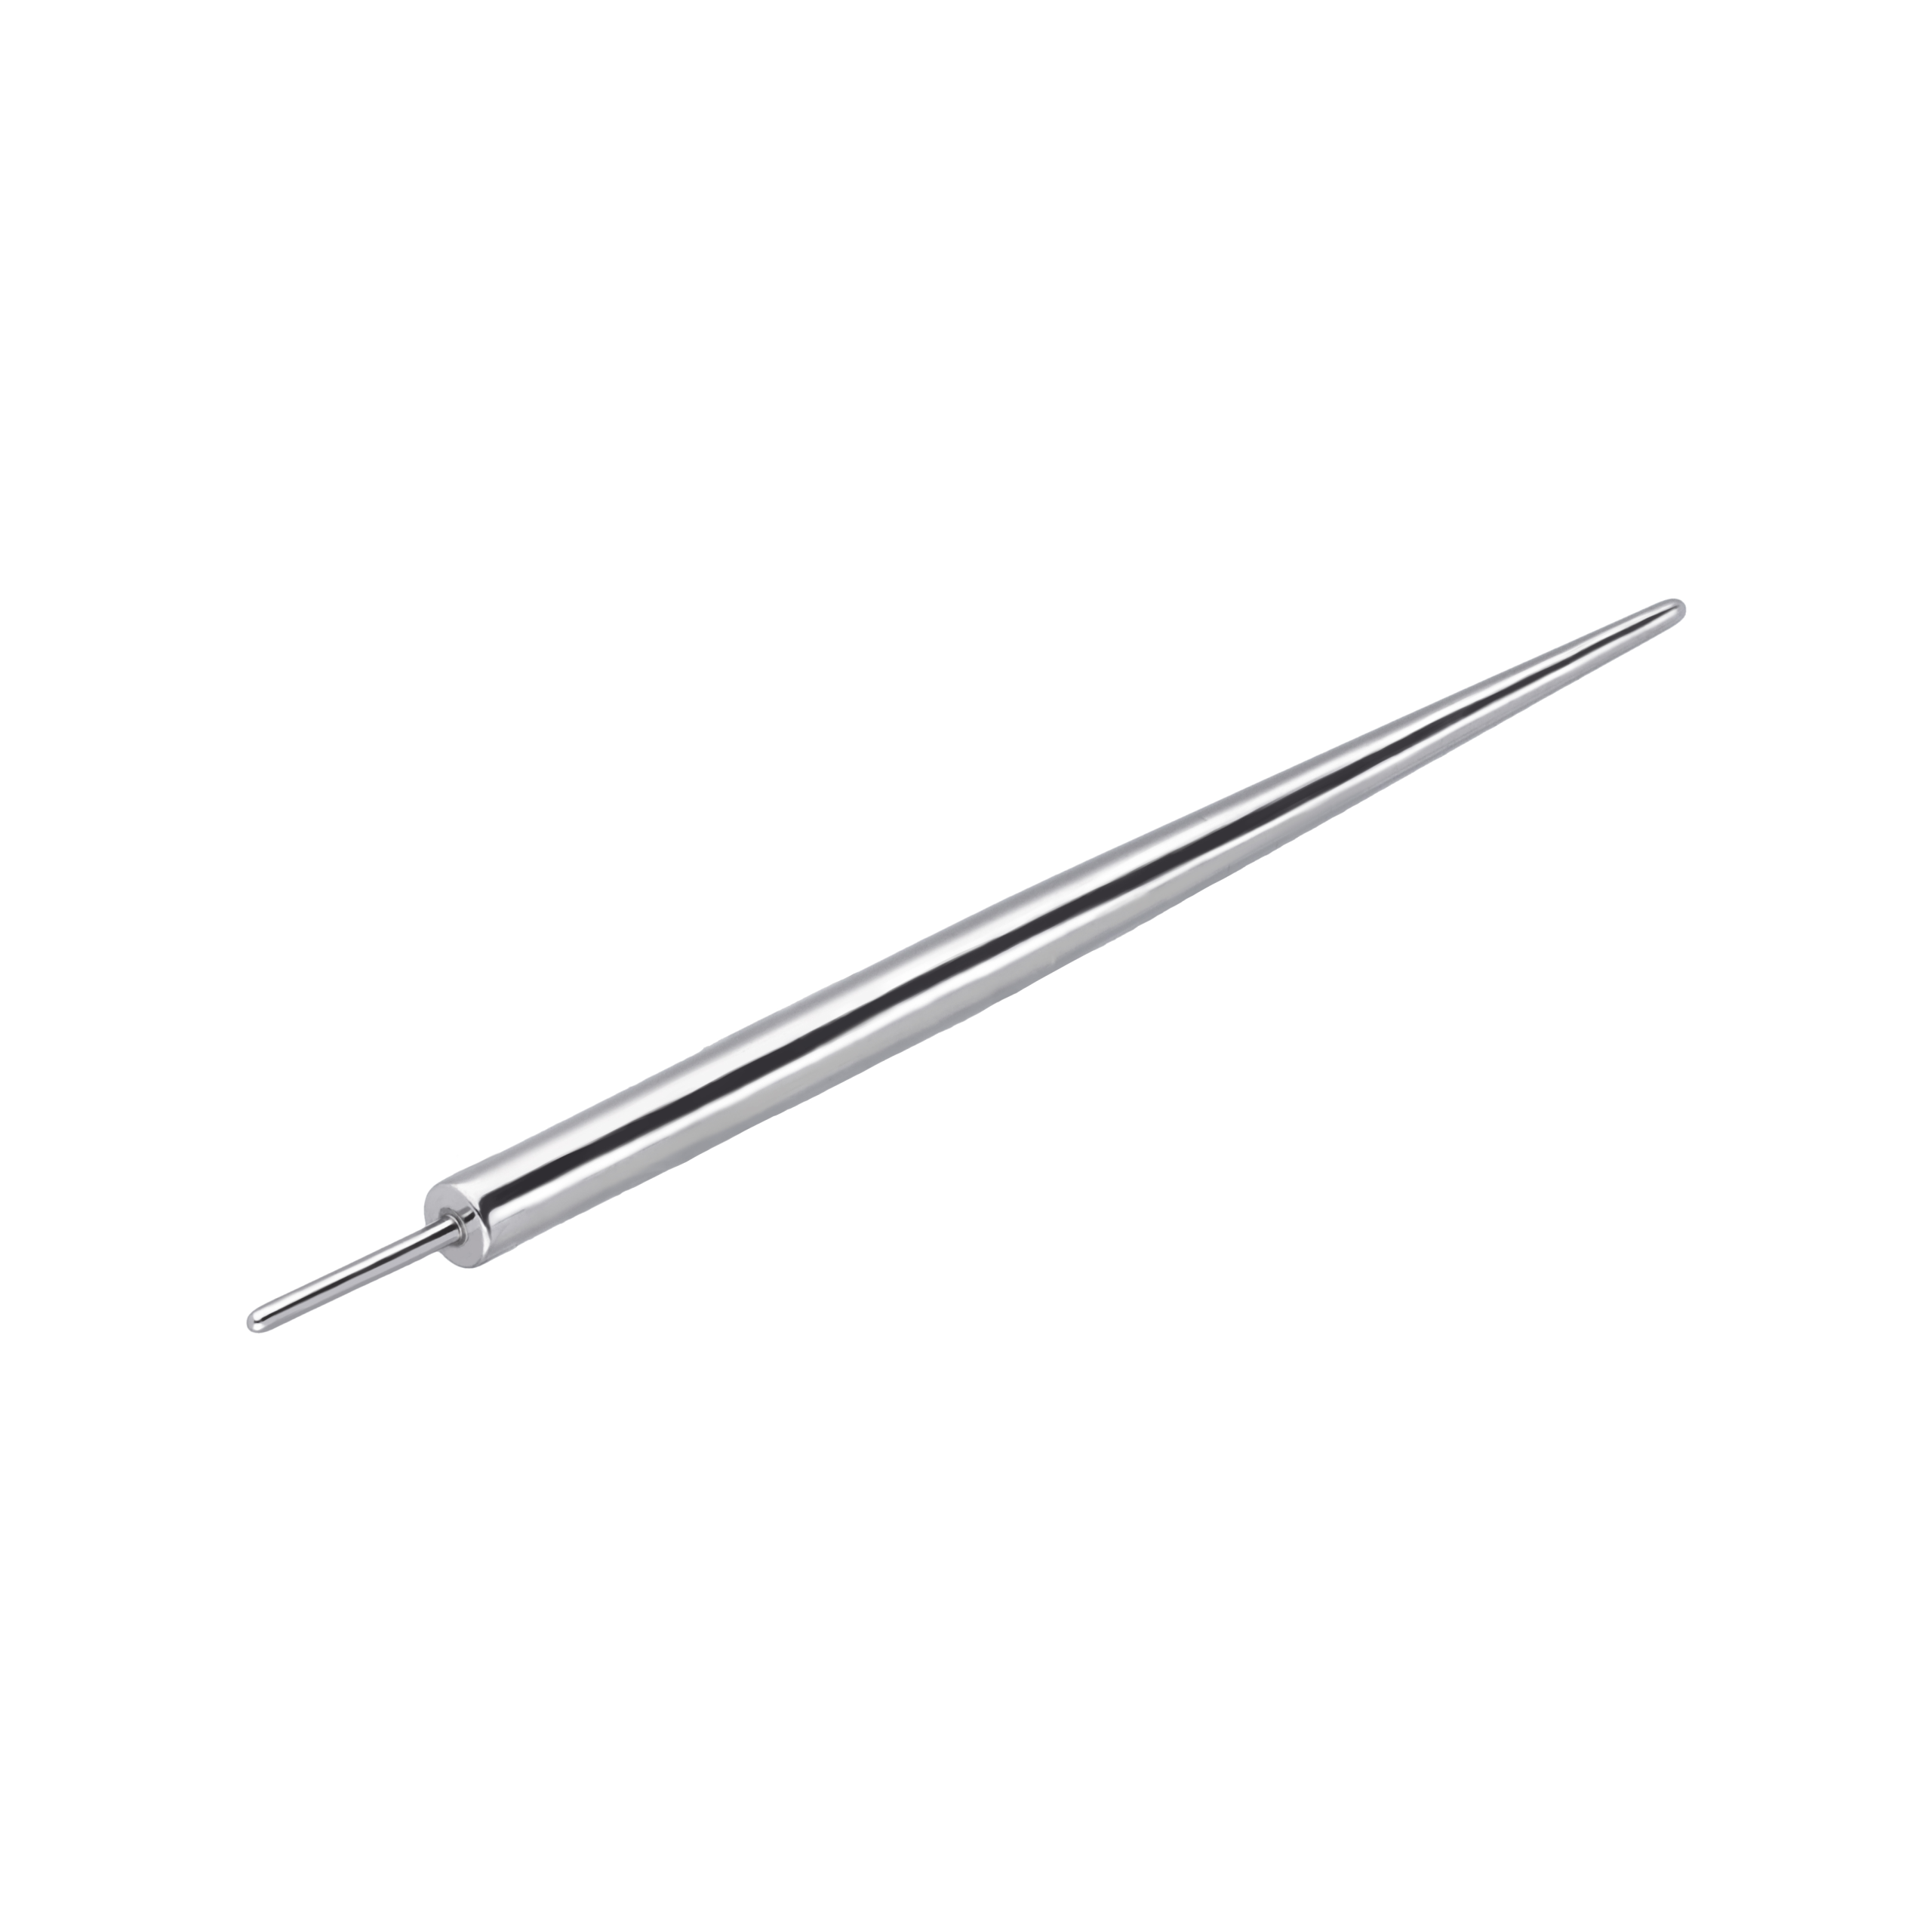
Check any threadless insertion pin too: its tip and taper should be smooth.
Pass / fail · Threadless
Threadless tops and posts
Pin straight
PassStraight as supplied
Fail → actionKinked or bent at the baseQuarantine and photograph
Pin end
PassClean, no marks
Fail → actionNick, burr or plier markQuarantine and photograph
Pin gauge
PassMatches the label
Fail → actionThicker or thinner than listedLog and report
Post opening
PassRound, open and clean
Fail → actionBurr, debris or oval openingQuarantine and photograph
Test insert
PassSmooth push, clean stop, no gap
Fail → actionGritty, stops short or leaves a gapReport to supplier
Do not bend the pin at receiving.
A stone that moves under a fingernail does not go on the tray.
A setting passes when the prongs are even, the stone sits level, nothing moves and no glue shows. Seat each top in a test post, or hold it by its base. Work over the tray.
Count the prongs. Each should be the same height, rounded and polished, with its tip over the stone's edge. From the side, at eye level, the stone's top face should be flat.
Then run three bench tests. Press the stone gently with a fingernail: it must not turn or rock. Shake the top next to your ear: no rattle. Draw a cotton pad across it: a lifted prong catches fibres.
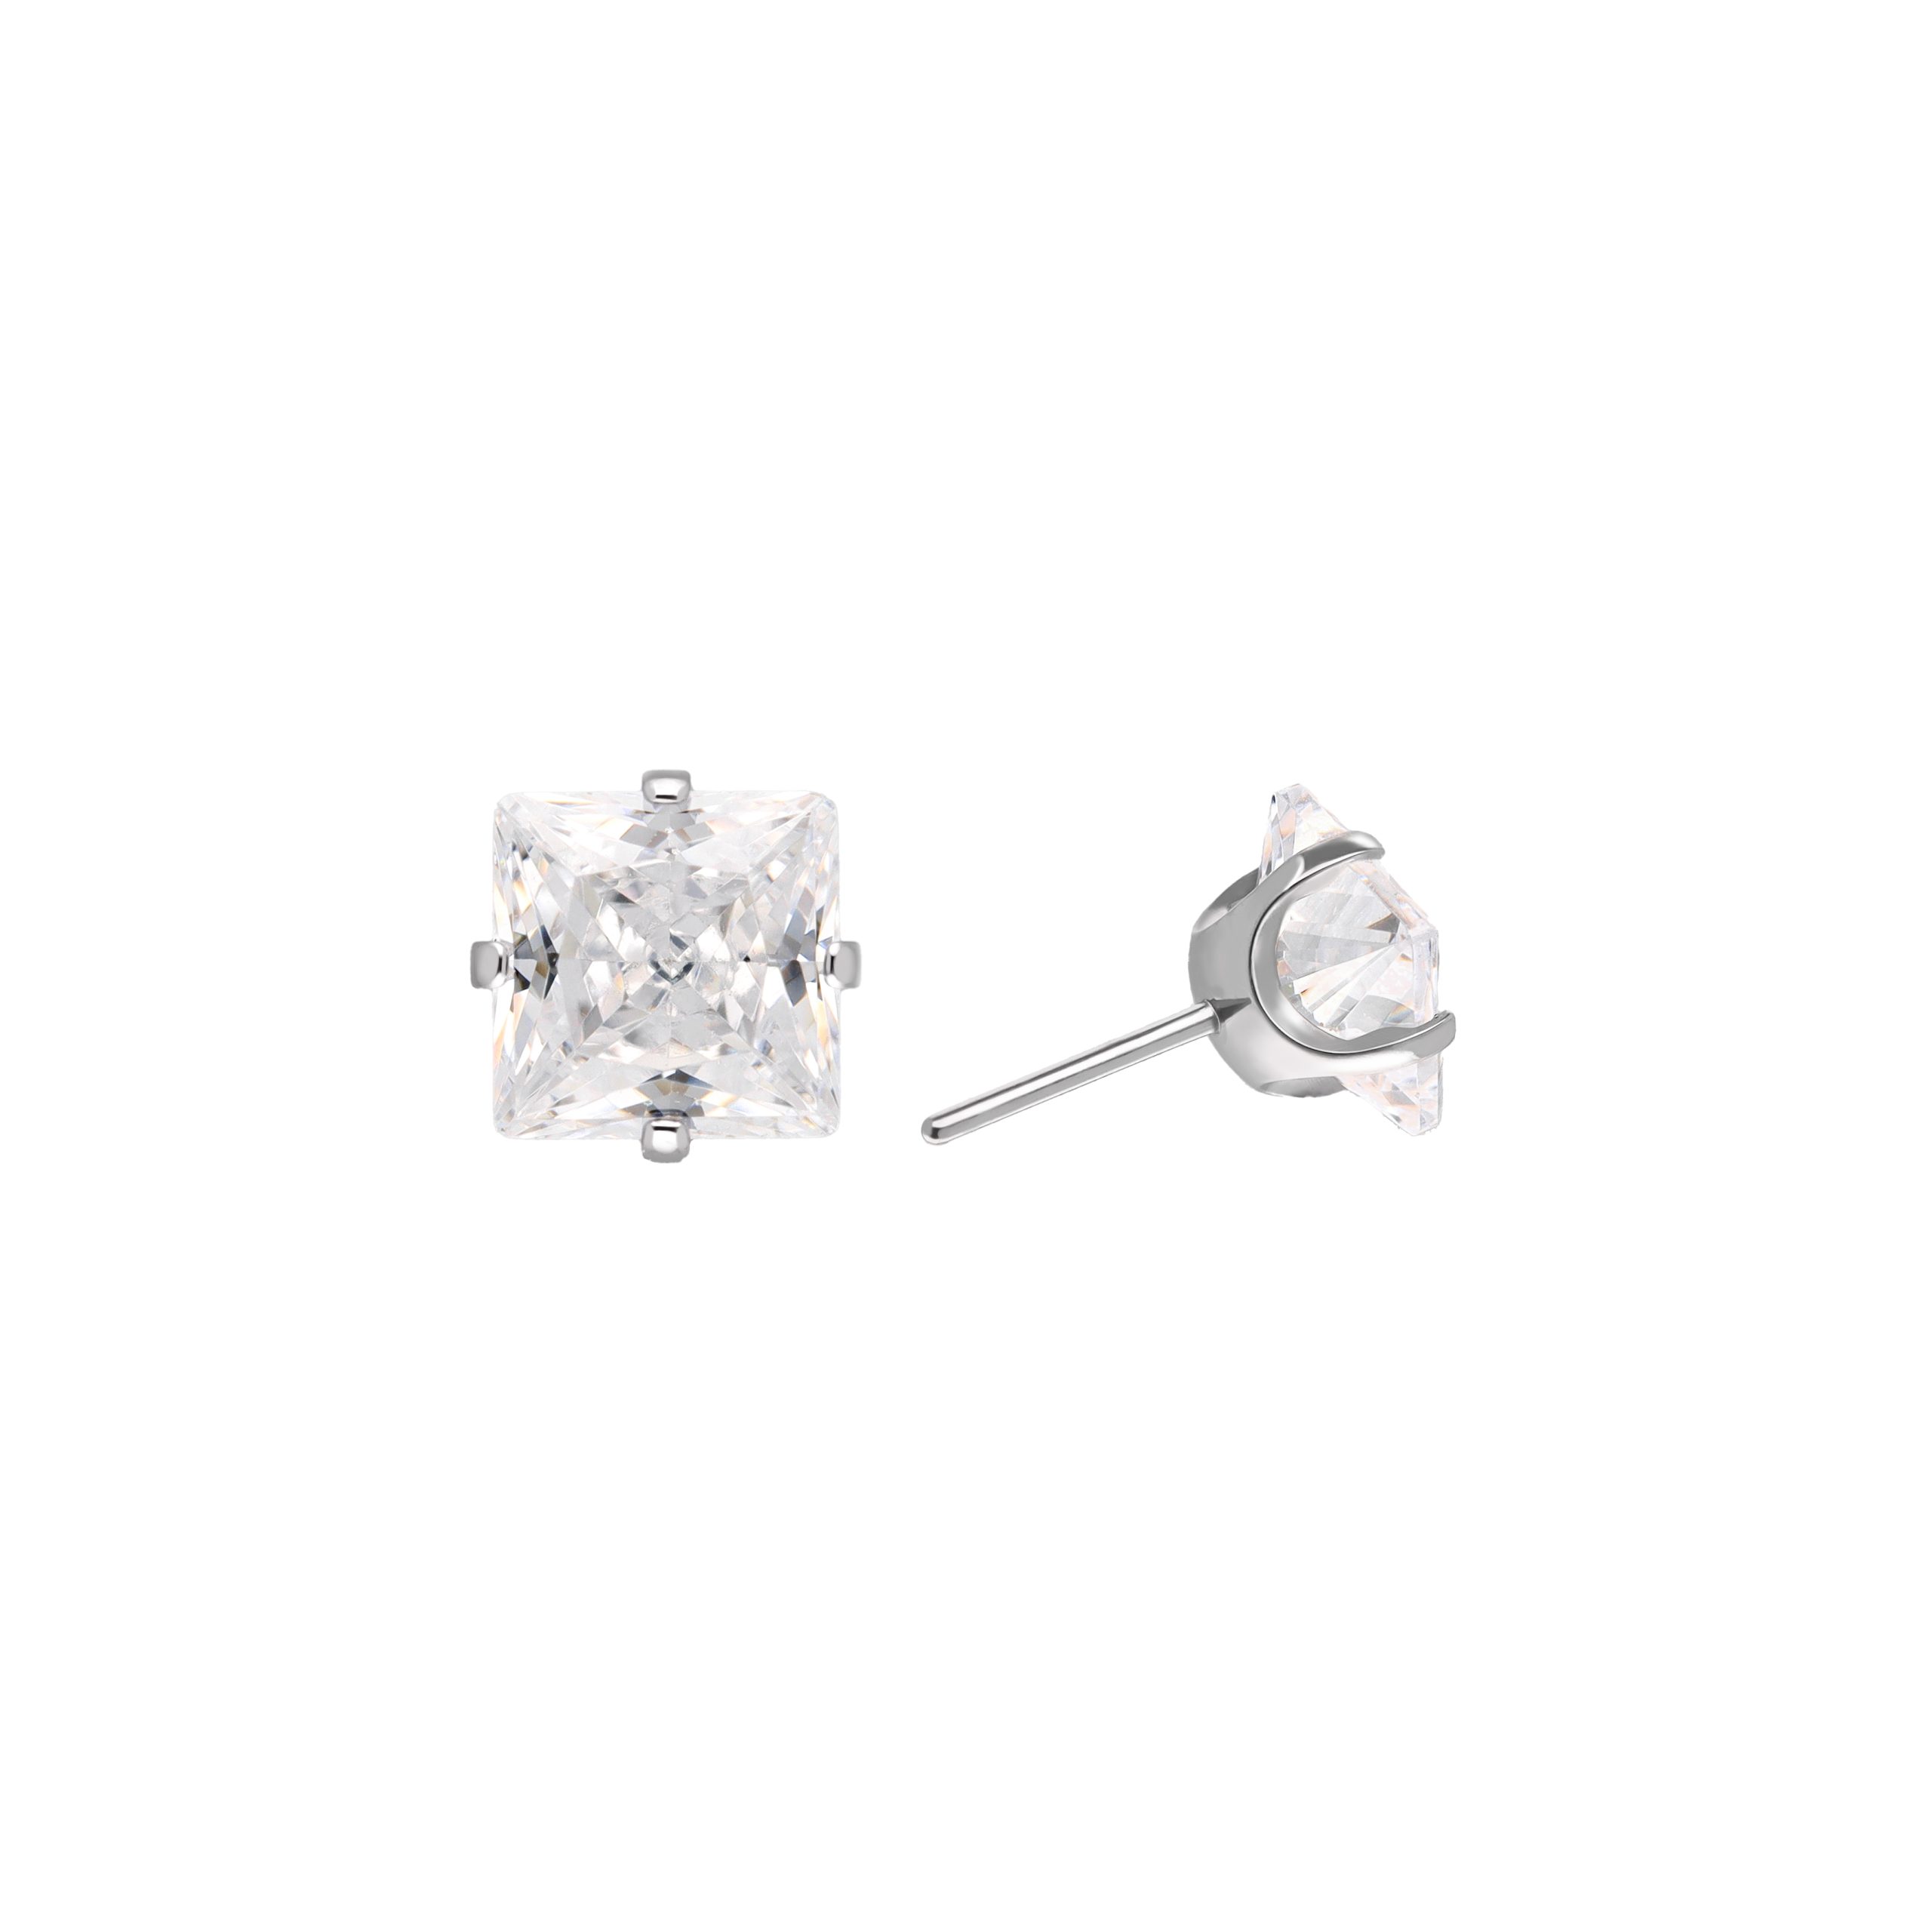
You should see metal over the stone's edge. A shiny film or a yellow edge at the seat suggests glue. Our three-prong trillion-cut basket is not glued. The prongs alone hold its white Swarovski Zirconia.
A lifted prong is not a studio repair. Do not push it back. Quarantine the piece and report it.
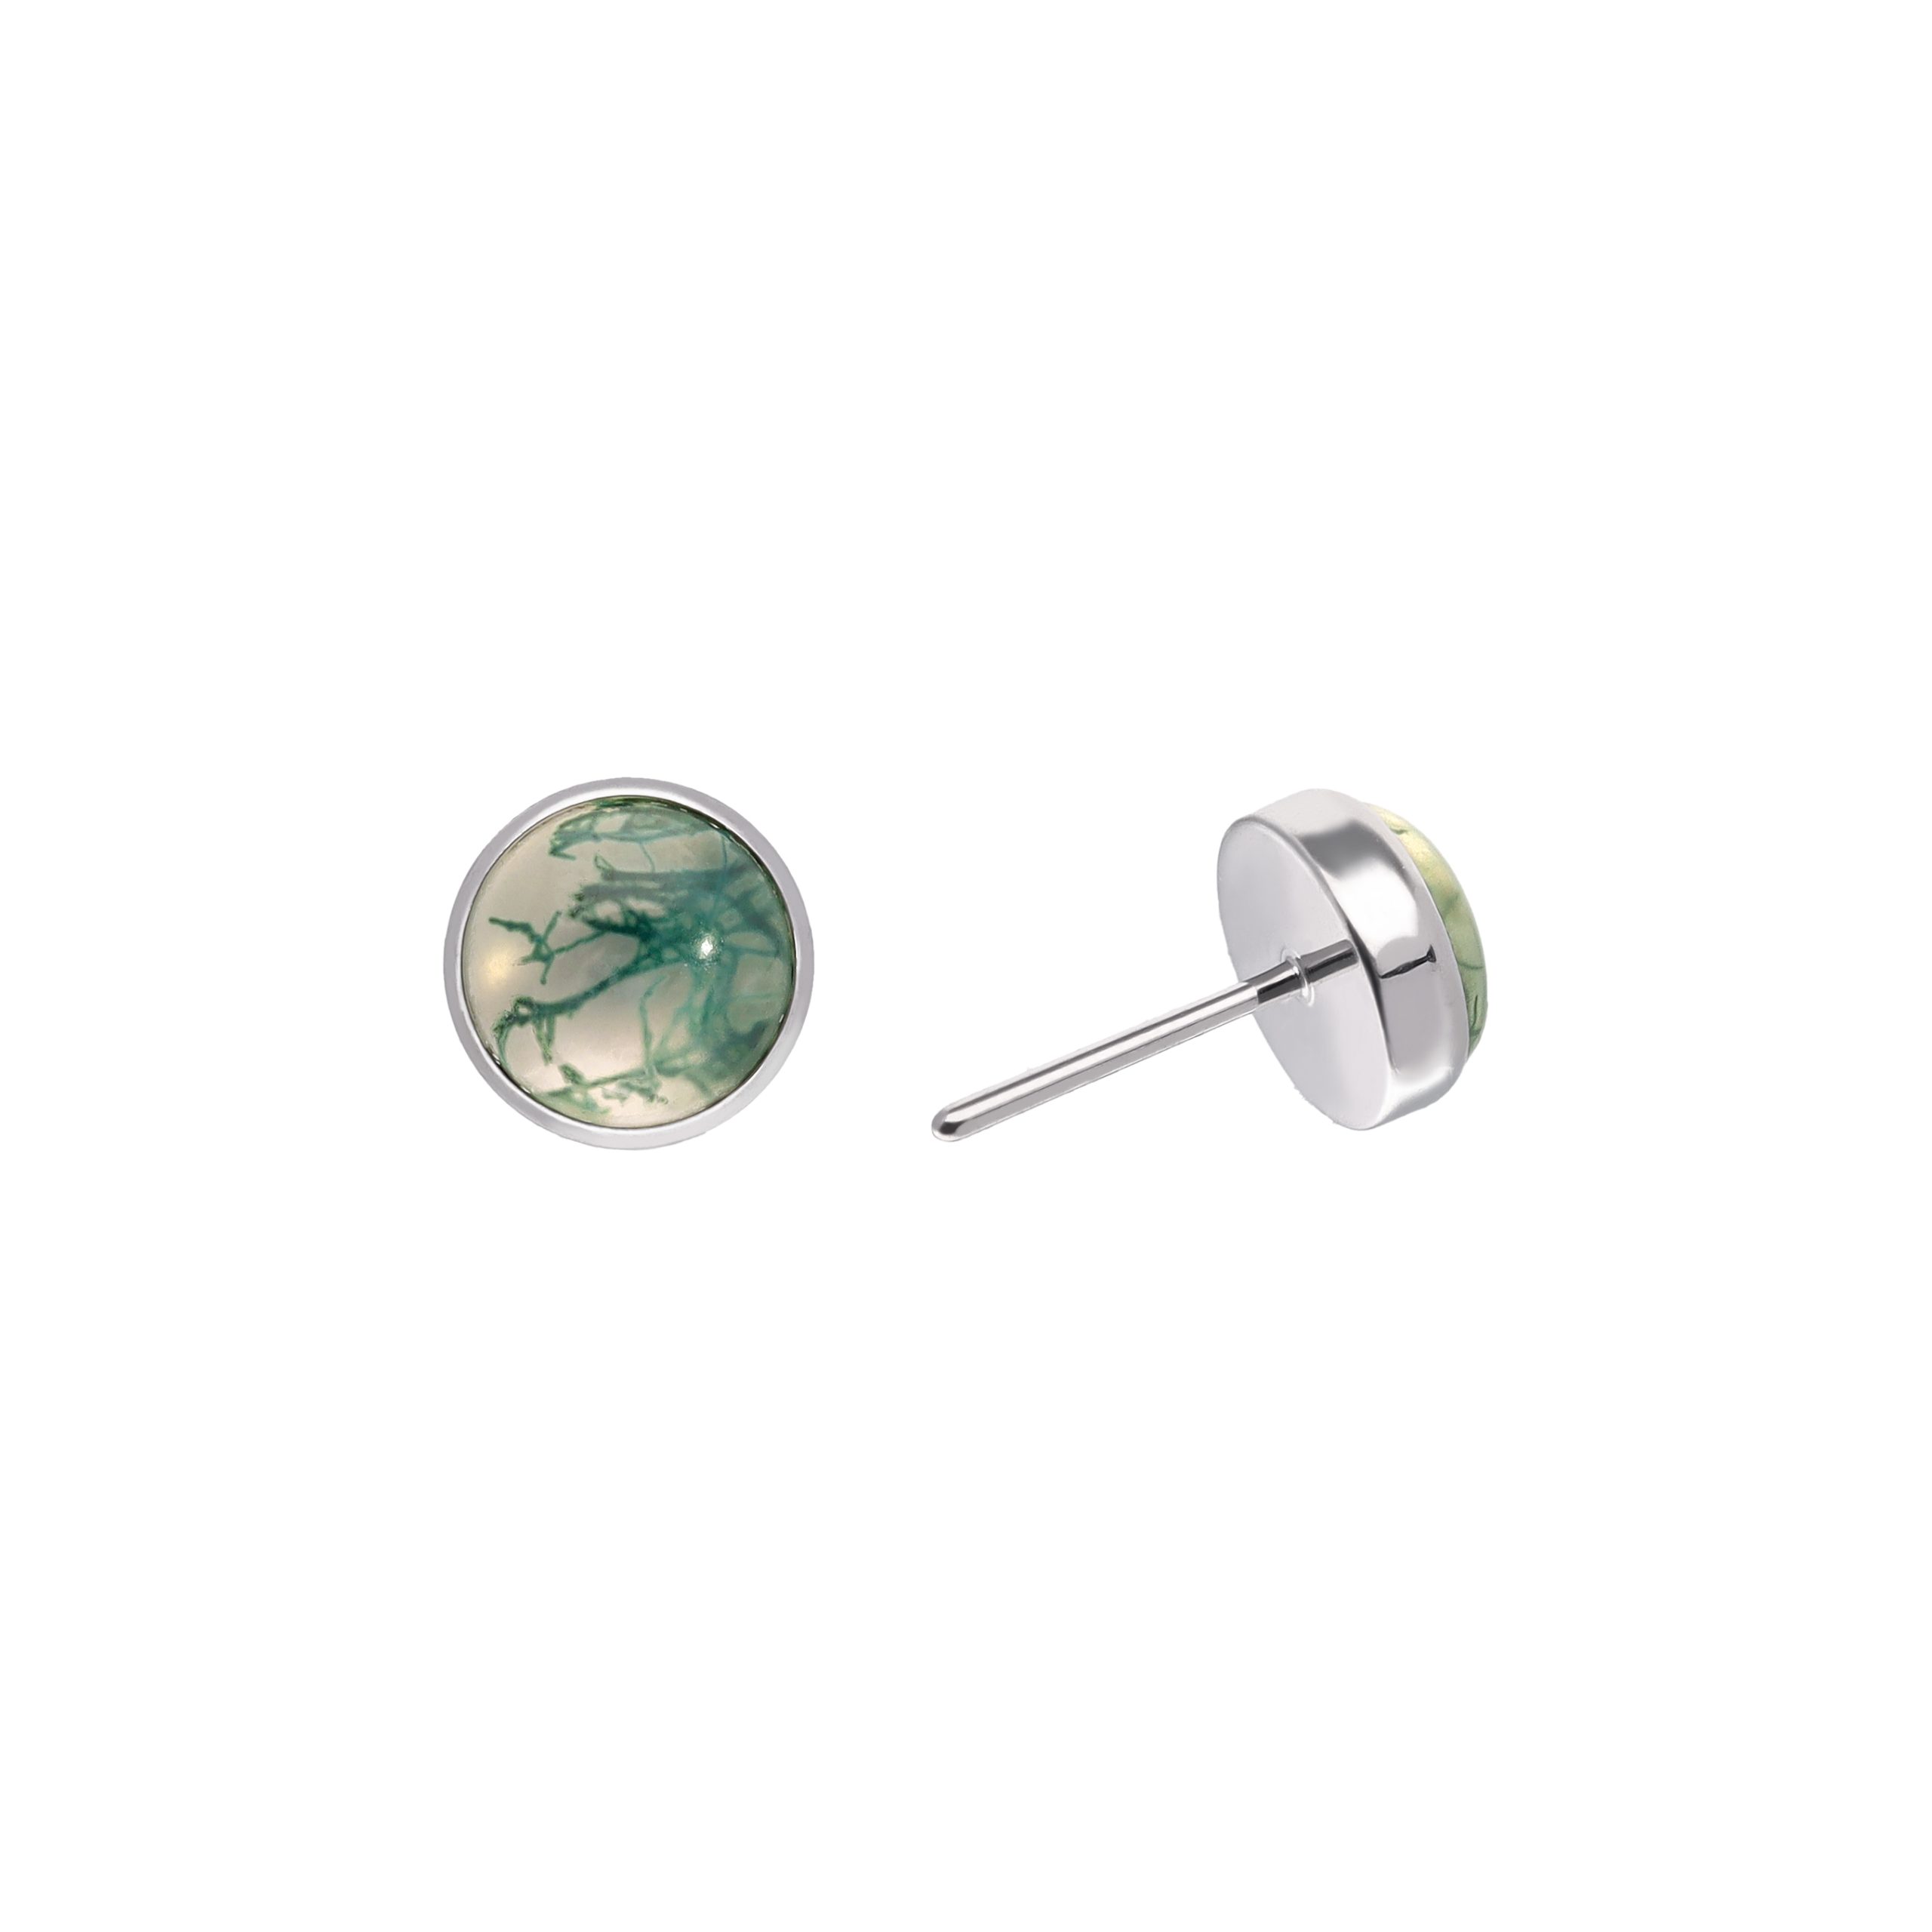
The rim should touch the stone all the way round, even in height, with no split or gap. A cabochon should sit centred and level. Cora is a good teaching piece: a natural moss agate cabochon in a bezel.
Match the colour to the order line, on a white tray in daylight-type light. Under the loupe, check the edge next to each prong, then the facets on top.
Natural stones grow with inclusions, and each moss agate pattern differs. That is expected. A chip or a crack that reaches the surface is a defect. In moissanite, facet edges can look doubled under the loupe. That is normal for the stone.
Pass / fail · Settings and stones
Prong, bezel and stone checks
Prongs
PassAll present, even and over the edge
Fail → actionA prong missing, short or liftedQuarantine, do not repair
Stone level
PassTop face flat from the side
Fail → actionStone tilts or sits deeper on one sideQuarantine and photograph
Movement
PassNo turn, rock or rattle
Fail → actionAny movement or soundQuarantine and photograph
Glue residue
PassMetal holds the stone, no film
Fail → actionShiny film or yellow edge at the seatReport to supplier
Bezel closure
PassRim touches the stone all round
Fail → actionGap, split or low sectionQuarantine and photograph
Stone surface
PassNo chips, colour matches the order
Fail → actionChip, surface crack or wrong colourReport to supplier
Movement tests are bench practice. A lifted prong goes to quarantine.
Settings to check: prong, claw, bezel
Three ways to hold a stone, and what to look for
Even prongs, a level stone, a closed rim. Tops are sold without post.
Prices are visible to approved accounts. Accounts are approved within 24 hours.
Inspect our pieces up close →Open and close it slowly, three times, before a client does.
Never bend a new clicker to make it close. A new piece that needs adjusting fails: report it. A seam ring's ends should meet flush and centred.
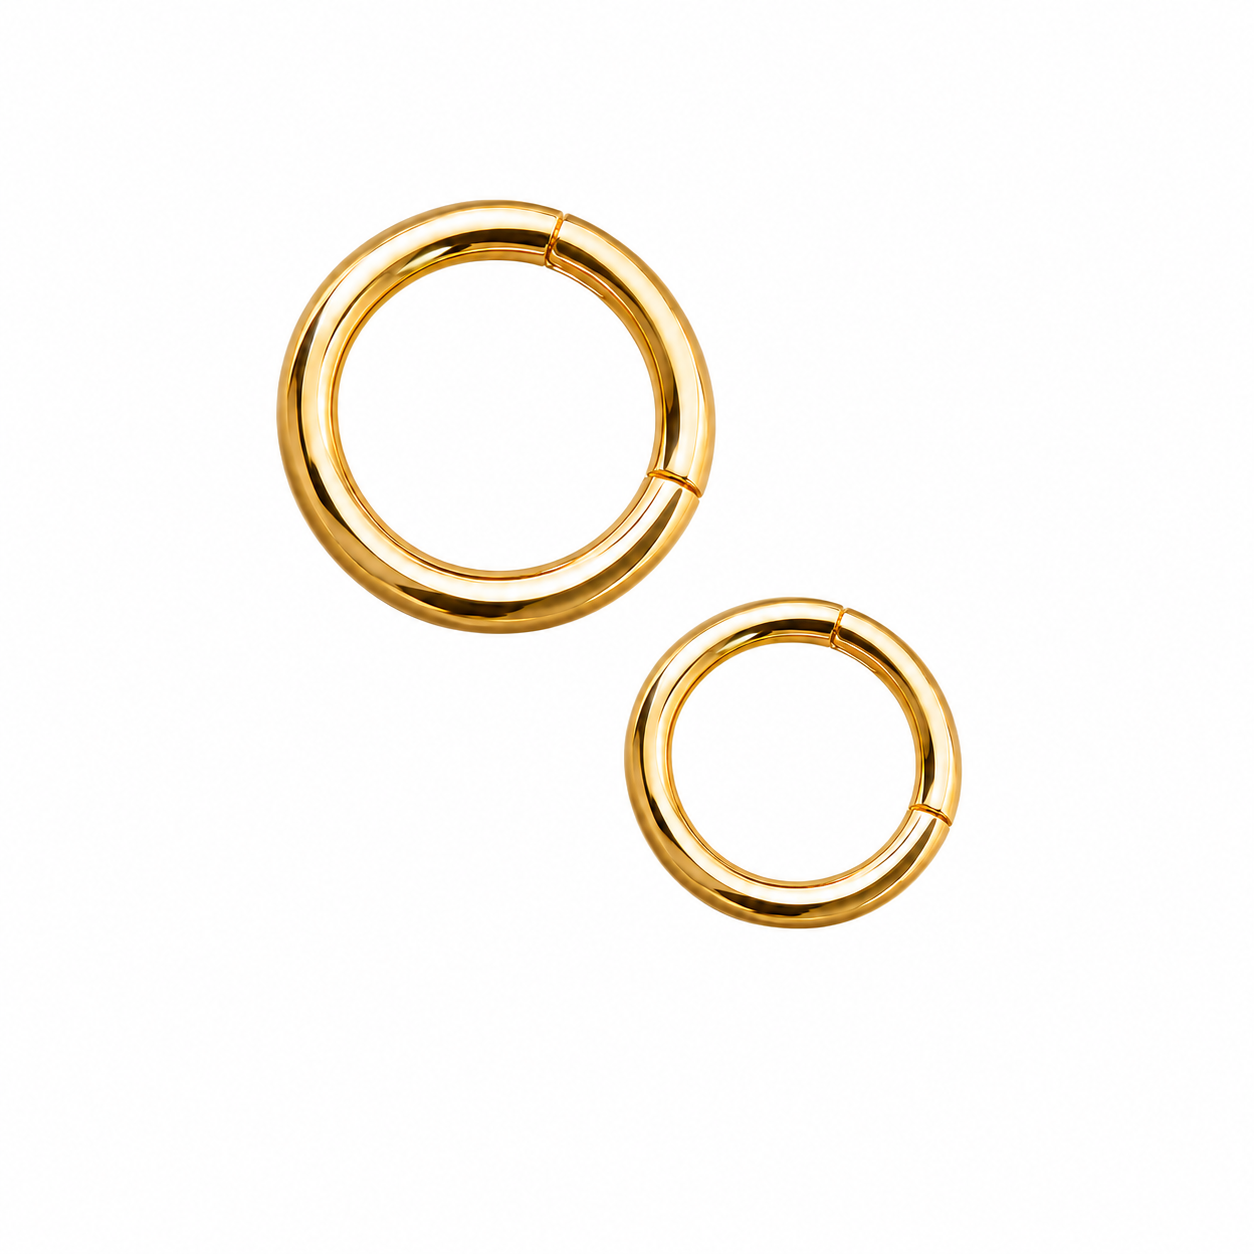
On a plain clicker such as the Clicker Ring – 18K Yellow Gold 16G, also measure the inner diameter. Clickers with stones need one more check. The Maria Laboratorium Robijn is a titanium clicker with a line of lab-grown rubies. Test the click, then check that every stone sits level. The same applies to the Septumklikker Tina Wit with white cubic zirconia.
Pass / fail · Rings and clickers
Rings, clickers and closures
Click
PassClear click, opens with light finger pressure
Fail → actionSilent, loose or needs toolsQuarantine, do not adjust
Seam
PassEnds flush, no gap or step
Fail → actionGap, step or sharp edgeQuarantine and photograph
Hinge alignment
PassSegment on the ring line, no side play
Fail → actionSegment sits proud or wobblesReport to supplier
Roundness
PassLies flat and round
Fail → actionOne side lifts or the ring is ovalReport to supplier
Never bend a new clicker to close it.
Fail, photograph, quarantine, report. In that order.
Supplier report
What to send when a piece fails
Photos first, words second. Keep the piece until the supplier answers.
Tremun order? Send these details and photos on WhatsApp: +34 675 014 620
If it is not in the log, it was not checked.
The log turns a check into a record. Write one line per product line, per delivery. Note who checked and the result. Copy the batch or lot reference only as it appears on the label.
Over time, the log shows when sampling is enough.
Printable template
Receiving log
File each page with the invoice.
Swipe sideways to see all 7 columns →
| Date | Order no. and supplier | Item, gauge, length or size | Qty received | Batch or lot (as on label) | Result (Pass / Quarantine) | Checked by |
|---|---|---|---|---|---|---|
| Example 12/11/2026 | Order 1234, Supplier A | Threadless top, 3 mm, 25G pin | 4 | - | Pass | XX |
| Pass / Quarantine | ||||||
| Pass / Quarantine | ||||||
| Pass / Quarantine | ||||||
| Pass / Quarantine | ||||||
| Pass / Quarantine | ||||||
| Pass / Quarantine |
Print this table or copy the columns into your own spreadsheet.
Check every set piece. Sample plain posts only when the record allows it.
How much you inspect is a studio decision. A practical default:
Factory sampling plans such as ISO 2859-1 add little to small studio deliveries. When you sample, take pieces from every bag.
Give one person the role of receiving lead. They inspect, sign and date the log. A second person confirms every quarantine before a report goes out.
Train new team members with this page, a few known-good pieces and your defect photos. They then check deliveries alongside the receiving lead before signing alone.
When two people check the same way, the tray has one level of quality.
Key takeaways
The routine in five lines
A good supplier welcomes your inspection.
Tremun Piercing is a B2B piercing jewellery wholesaler for professional piercers and studios, based in Barcelona, Spain. More than 3,500 studios trust Tremun. Here is what you can check against.
Posts and bench tools
The posts and pins behind every test fit
Length as listed on each product page. The disc is a separate size.
Tremun · Titanium ASTM F-136 and 18K gold
Pieces made to be checked under the loupe
Settings, stones and 18K finish you can inspect on arrival.
Tops are sold without post. Prices are visible to approved accounts.
For professional piercers
Order from a supplier that welcomes inspection
Tremun sells only to professional piercers and studios. Accounts are approved within 24 hours.
Check every delivery before it reaches the tray. Match the labels to the order and the packing list. Look at each piece under a 10× loupe and good light. Measure gauge and length with digital calipers. Test threads or pins by hand, then check settings and closures. Log the result. In US English, this is body jewelry inspection.
A basic receiving kit has a 10× loupe, a daylight lamp and digital calipers. Add marked test posts for each gauge, nitrile gloves and a clean tray with a white and a dark mat. Then add a labelled quarantine bin, a phone camera and a printed receiving log. Keep the kit in one place.
The Association of Professional Piercers asks for surfaces free of four defects: nicks, scratches, burrs and polishing compounds. It also asks for a consistent mirror finish. At receiving, check each of these under a 10× loupe, with light from the side. Look closely at edges, thread openings, prong bases and the inside of rings.
Look into the post opening under a loupe first. The thread should be clean and complete, with no burr at the rim. Then thread a marked test post from the same system by hand only. It should turn smoothly and sit flush. If it binds or goes in at an angle, stop. Never use pliers.
Sight along the pin under the loupe, against a white background. The pin should be straight as supplied, with a clean end and a firm join. Measure the pin gauge. Push it into a marked test post: it should seat cleanly, with no gap. Do not bend the pin at receiving: the bend belongs to the fitting.
Check that the prongs are even and lie over the edge of the stone. From the side, the top face should look flat. Press the stone gently with a fingernail: it must not turn or rock. Shake the top near your ear: no rattle. A bezel rim should touch the stone all the way round.
No. Natural stones grow with inclusions, and each piece differs. Moss agate, for example, shows a different pattern in every stone. Check that the stone type and colour match the order. Report chips, surface cracks, scratches on the top face and any stone that moves.
There is no published industry tolerance for body jewellery. Set your own limit for gauge, wearable length and inner diameter. Write it down and apply it to every supplier. Measure with digital calipers and record the real reading. A clear number makes any discussion with the supplier simple and fair.
That is a studio decision. A practical default: check every piece with a stone, a setting, a hinge or a clicker. Check every piece in a first delivery from a new supplier. Plain posts can be sampled when past deliveries passed. After any failure, go back to checking every piece of that product.
Do not use it, and do not rework it. Photograph the defect through the loupe and on a white mat with calipers in the frame. Bag it with the order number and date, and put it in the quarantine bin. Then send the supplier the order number, product, size, quantities and photos.
Keep the invoice, the packing list and the bag labels. Save the supplier's mill certificates and any lab reports, with the date you saved them. A mill certificate covers one heat of raw metal, not the finish of a piece. Tremun publishes its titanium mill certificates and Metaltest results on its certificates page.
Tremun sells only to professional piercers and studios. Register at tremunpiercing.com/registration/. Accounts are approved within 24 hours, and then prices are visible. There is no minimum order. Shipping is free with DHL Express from €350 (VAT incl.). Questions about a piece? Ask on WhatsApp: +34 675 014 620.
The Tremun Team
 English English
 Croatian
 Dutch
 French
 German
 Italian
 Romanian
 Spanish
 Ukrainian